Creating a Custom PWA Splash Screen
As previously stated in our PWA manifest tutorial, you can create a unique splash screen for your PWA with just a few lines of code inside your manifest.json. The process isn’t overly complicated as one would expect, and you can actually have everything done in no time at all.
>> Explore:
- 9 Best PWA eCommerce templates in 2025
- PWA Add to Home Screen: Detailed Guide 2025
- 40+ Best PWA Examples (PWA Apps) By Industries in 2025

Let’s get right into it, shall we:
The case for splash screens in PWAs
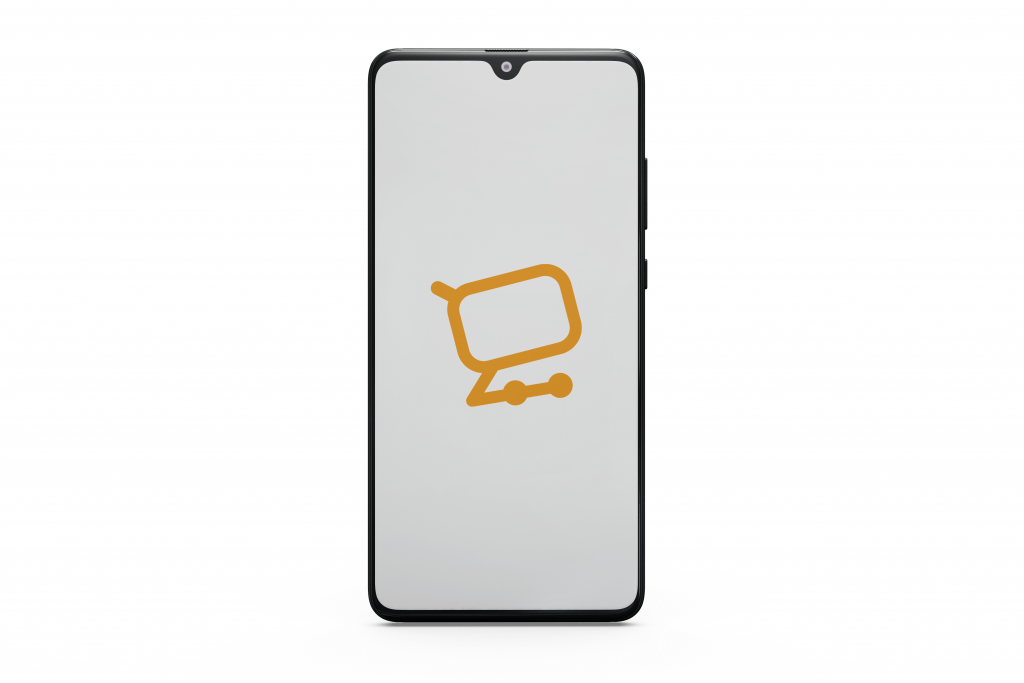
When unconfigured, users opening your PWA are defaulted to be greeted with a blank, white screen. This should be fine on its own, as on modern devices, time to opening apps is almost instant. However, on slower devices, this can be an issue since it ruins the user’s initial perception of your app. Coupled with the fact that lower-specced devices with 1GB of RAM are still the most common, a unique splash screen that is representative of your brand is a must.
How to create your own splash screen
On Android, the process is as quick as putting in three lines of code. For iOS, however, it’s a different story as you’d have to make different splash image sizes for different screen sizes.
For Android
Doing it manually
In your manifest.json file, make sure that these three properties: name, background_color, and icons are properly configured:
name: The name of your PWAbackground_color: The background color of your splash screen. Only valid CSS color values are recognized.icons: A.pngicon with a minimum size of 192×192 px.
For example, here’s what a properly configured manifest.json should look like. Note how the icons property has four different sizes — these different-sized icons are provided in order to provide the best compatibility for different devices.
{
    "theme_color": "#f69435",
    "background_color": "#ffffff",
    "display": "fullscreen",
    "scope": "/",
    "start_url": "/",
    "app_name": "SimiCart",
    "short_name": "SimiCart",
    "description": "Next Generation eCommerce Solutions for Magento",
    "icons": [
        {
            "src": "/icon-192x192.png",
            "sizes": "192x",
            "type": "image/png"
        },
        {
            "src": "/icon-256x256.png",
            "sizes": "256x",
            "type": "image/png"
        },
        {
            "src": "/icon-384x384.png",
            "sizes": "384x",
            "type": "image/png"
        },
        {
            "src": "/icon-512x512.png",
            "sizes": "512x",
            "type": "image/png"
        }
    ]
}
After finishing setting up the properties (and your manifest.json file), the browsers which support PWA (typically Chrome) will automatically generate different icon sizes for your splash screen and display them accordingly.
Pretty effortless, isn’t it? If you ask us, we think this is how the developing experience should feel like.
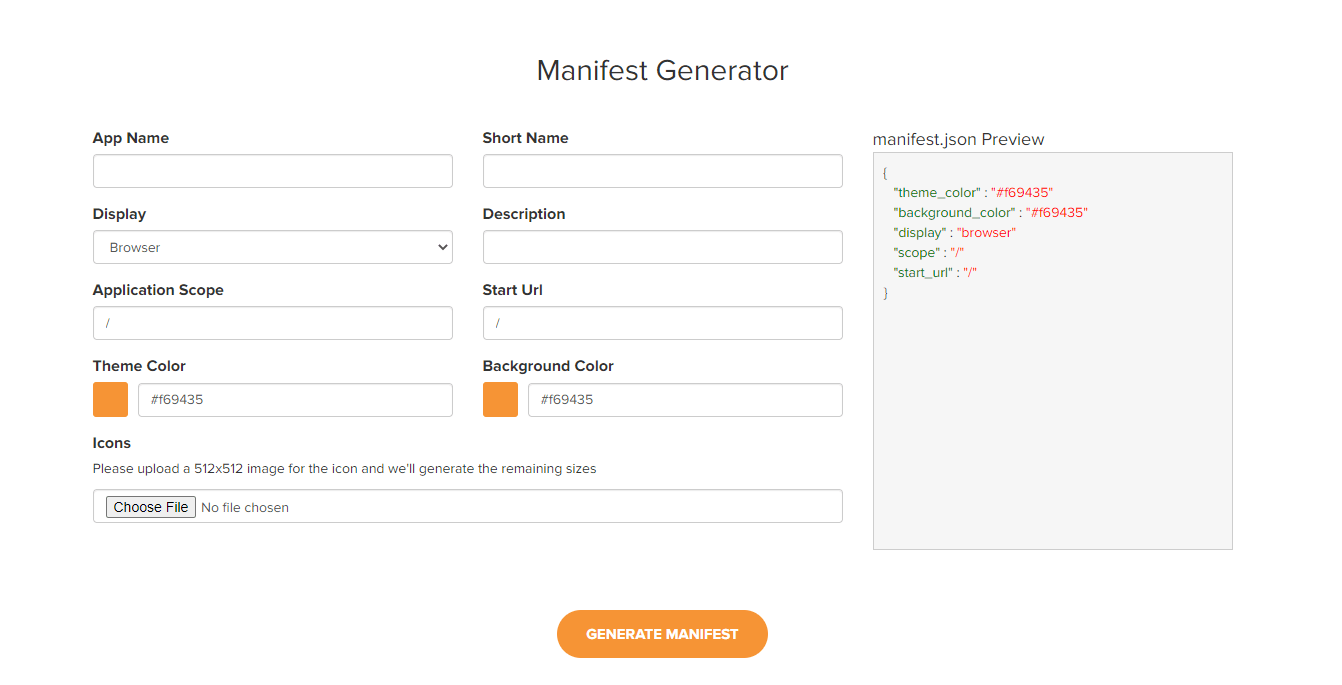
Using an Android Manifest Generator
You can effortlessly automate this process by using PWA splash screen generator. Simply put in the required information and our generator will generate for you a .zip which will contain all the information that you’d need.
For iOS
Apple surely doesn’t want to make this process easy for developers. At the time of writing this, the status for Web App Manifest support is still listed as Partially Supported — unchanged two years after its first appearance. This means that PWAs receive no support for icons, minimal-ui, fullscreen, theme-color, and orientation.
Fortunately, there’s still a way around this which is to use the <apple-touch-startup-image> meta tag. Not an ideal solution — but it works.
<!-- Splash Screen for iPhone X (1125px x 2436px) -->
<link rel="apple-touch-startup-image" media="(device-width: 375px) and (device-height: 812px) and (-webkit-device-pixel-ratio: 3)" href="/apple-launch-1125x2436.png">
By using the <apple-touch-startup-image> meta tag, you can specify a fixed resolution image for your PWA’s splash screen (i.e. startup-image). This custom splash screen is compatible with one screen size only, and you’ll need a lot more of different image sizes in order to accommodate the different screen sizes of Apple products on the market.
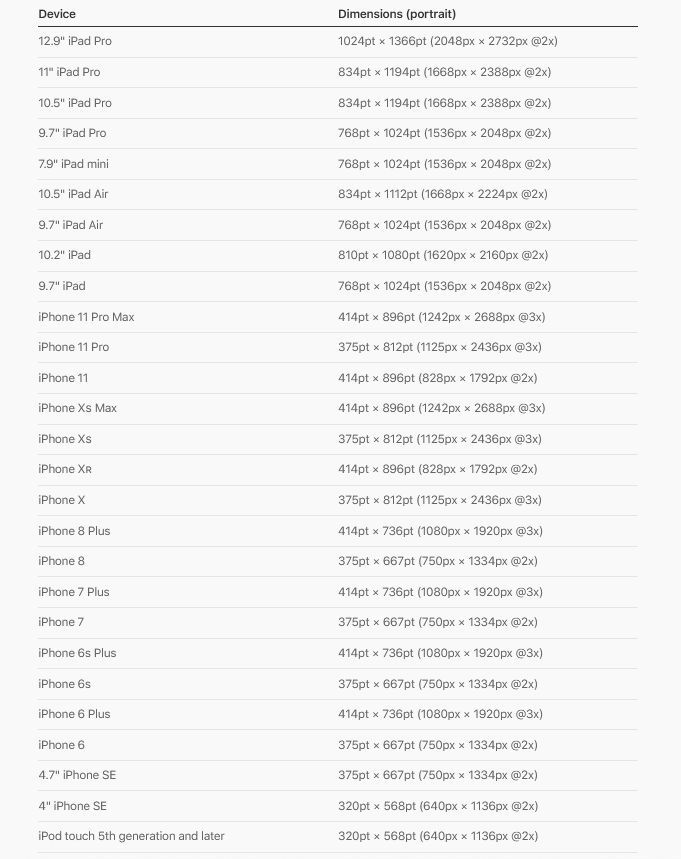
What this means is that you’ll need to create two splash screens for each screen size, one for each orientation (landscape & portrait). This is how our code should look when we’ve covered some of the devices on the list:
<!-- iPhone X (1125px x 2436px) -->
<link rel="apple-touch-startup-image" media="(device-width: 375px) and (device-height: 812px) and (-webkit-device-pixel-ratio: 3)" href="/apple-launch-1125x2436.png">
<!-- iPhone 8, 7, 6s, 6 (750px x 1334px) -->
<link rel="apple-touch-startup-image" media="(device-width: 375px) and (device-height: 667px) and (-webkit-device-pixel-ratio: 2)" href="/apple-launch-750x1334.png">
<!-- iPhone 8 Plus, 7 Plus, 6s Plus, 6 Plus (1242px x 2208px) -->
<link rel="apple-touch-startup-image" media="(device-width: 414px) and (device-height: 736px) and (-webkit-device-pixel-ratio: 3)" href="/apple-launch-1242x2208.png">
<!-- iPhone 5 (640px x 1136px) -->
<link rel="apple-touch-startup-image" media="(device-width: 320px) and (device-height: 568px) and (-webkit-device-pixel-ratio: 2)" href="/apple-launch-640x1136.png">
<!-- iPad Mini, Air (1536px x 2048px) -->
<link rel="apple-touch-startup-image" media="(device-width: 768px) and (device-height: 1024px) and (-webkit-device-pixel-ratio: 2)" href="/apple-launch-1536x2048.png">
<!-- iPad Pro 10.5" (1668px x 2224px) -->
<link rel="apple-touch-startup-image" media="(device-width: 834px) and (device-height: 1112px) and (-webkit-device-pixel-ratio: 2)" href="/apple-launch-1668x2224.png">
<!-- iPad Pro 12.9" (2048px x 2732px) -->
<link rel="apple-touch-startup-image" media="(device-width: 1024px) and (device-height: 1366px) and (-webkit-device-pixel-ratio: 2)" href="/apple-launch-2048x2732.png">
Link this code in your index.html’s <head>, and don’t forget to insert the <meta> tag below in order to enable PWA behavior, otherwise our splash screen won’t work at all.
<meta name="apple-mobile-web-app-capable" content="yes">
With this, you should be all set. Launch your iOS PWA and you’ll be able to see your splash screen.
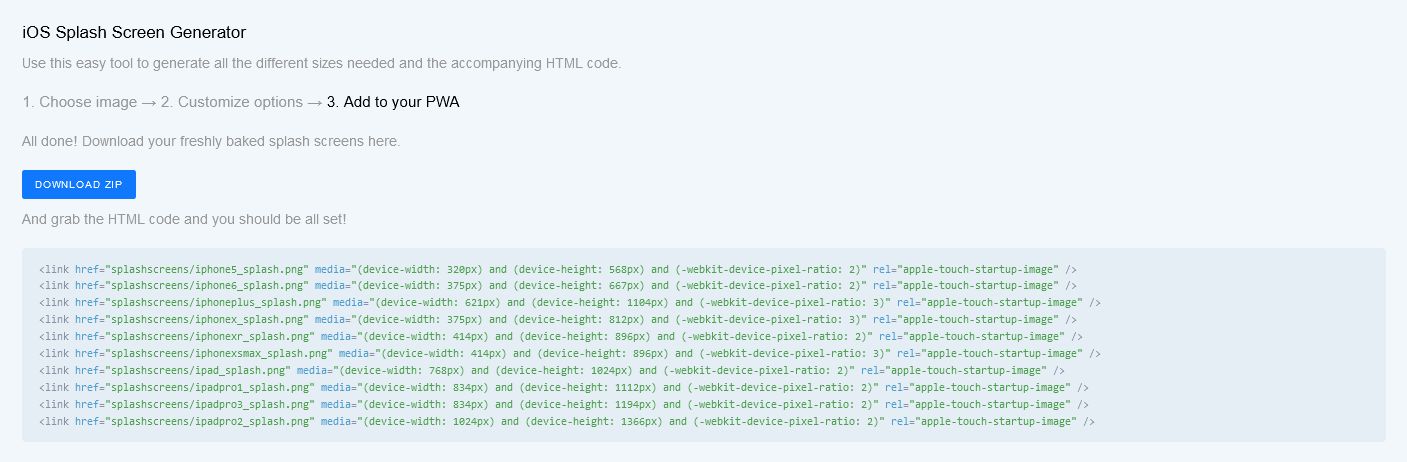
Using a iOS Splash Screen Generator
Of course, there are better ways to automate this process, which is by using iOS Splash Screen Generator. With your image as its source, the generator will generate for you different-sized images along with the needed HTML code to be inserted in your index.html.
Conclusion
While not exactly a part of the onboarding experience, splash screen still plays an important role in the creating of a positive perception of your brand — it’s the low-hanging fruit that can potentially bring about results you wouldn’t expect.