
Table of contents
Virtual Product
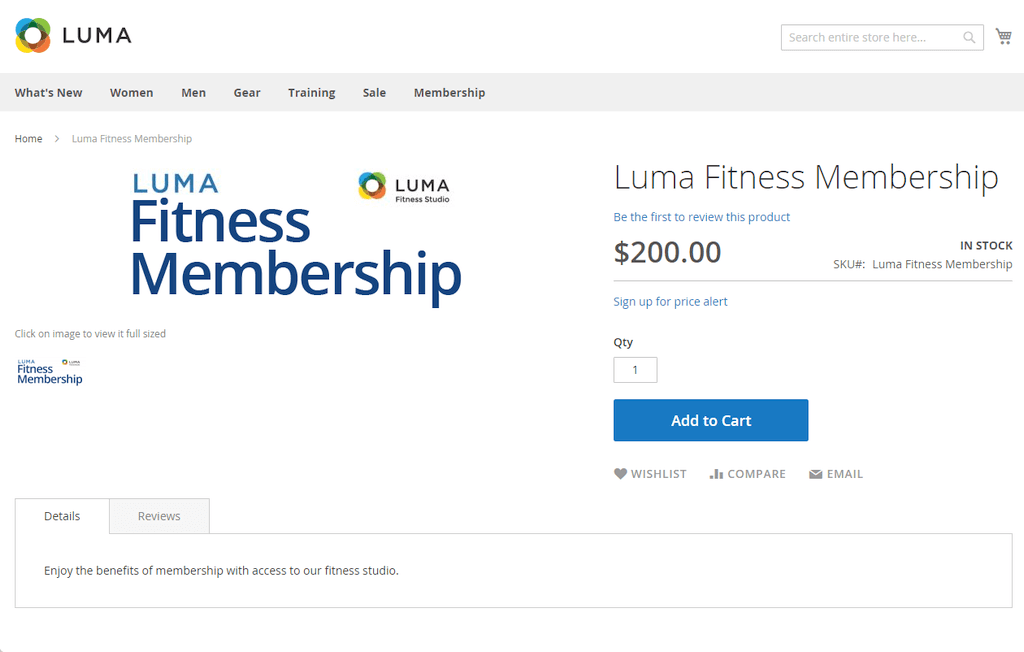
A Virtual Product or Digital Product can be used for intangible items such as a membership, service, warranty, or subscription and digital downloads of books, music, videos. They can be sold individually or included in grouped or bundled products.
Configuring Virtual Product in Magento 2 is the same as Simple Product but without the weight field or the option to include a gift card.
Create a Virtual Product in Magento 2
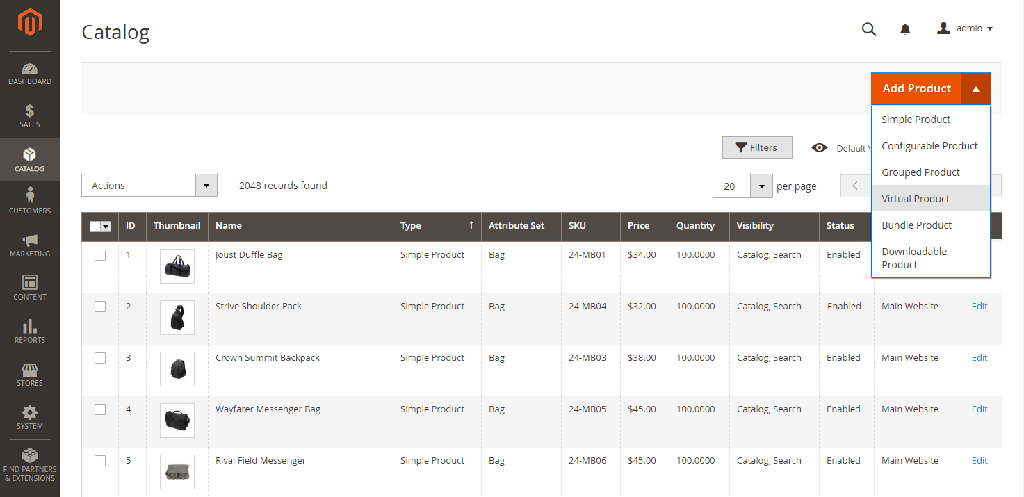
Step 1: Choose the product type
1. On the Admin sidebar, go to Catalog > Products.
2. In the upper-right corner of the Add Product menu, choose Virtual Product.
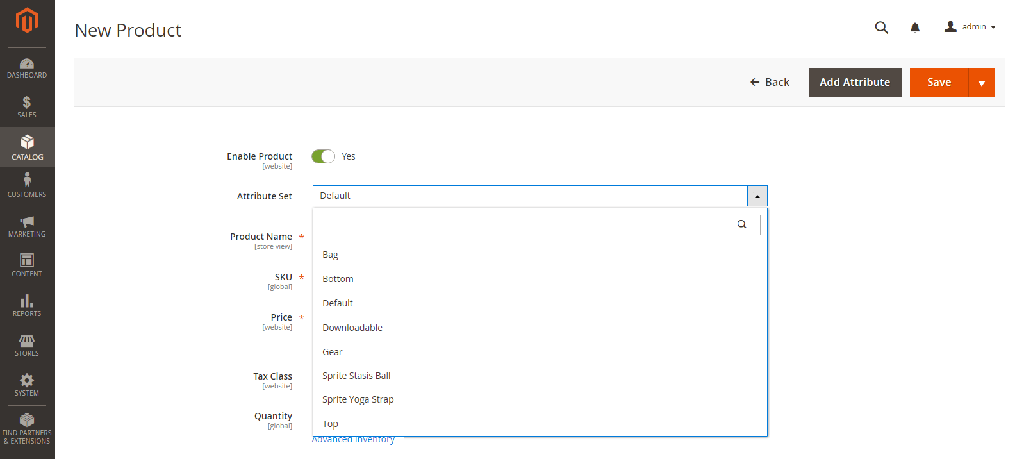
Step 2: Choose the Attribute Set
To choose the Attribute Set that is used as a template for the product, do one of the following:
- In the Search box, enter the name of the attribute set.
- In the list, choose the attribute set that you want to use.
The form is updated to reflect the change.
Step 3: Complete the Required Settings
1. Enter the product Product Name.
2. Accept the default SKU that is based on the product name, or enter another.
3. Enter the product Price.
Click Advanced Pricing to set discounted price, cost, or tier price for the product.
4. Because the product is not yet ready to publish, switch Enable Product to “No”.
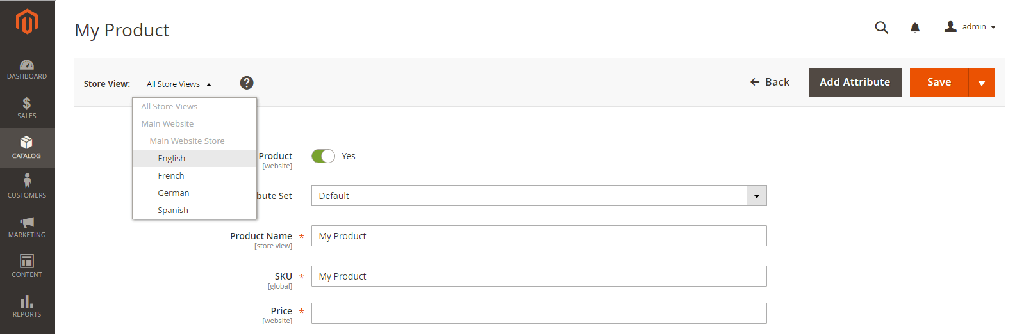
5. Tap Save and continue.
6. When the product is saved, the Store View chooser appears in the upper-left corner. Choose the Store View where the product is to be available.
Step 4: Configure the Basic Settings
1. Set Tax Class to one of the following:
2. Enter the Quantity of the product that is currently in stock. Then, do the following:
a. Accept the default Stock Status setting, “In Stock.”
Note that the Weight field is not used, because a virtual product is not shipped.
b. Accept the default Visibility setting, “Catalog, Search.”
3. To assign Categories to the product, tap the Select… box. Then, do either of the following:
- Choose an existing category
- Create a new category: Enter the Category Name and choose the Parent Category to determine its position in the menu structure. Tap Create Category.
There might be additional individual attributes that describe the product. The selection varies attribute set, and you can complete them later.
Step 5: Complete the Product Information
Complete the information in the following sections as needed:
1. Content
Expand the menu and write descriptions using WYSIWYG editor to provide more information to customers.
2. Images and Videos
Add Images and Videos for the product, these files can be uploaded from your desktop. Click on an image to fill up details like Alt Text and Role:
- Base – Main image for the product page
- Small – For listings on category and search results pages, and for sections such as for Up-sells, Cross-sells, and the New Products List.
- Thumbnail – For thumbnail gallery, shopping cart, blocks like related items.
- Swatch – Used to illustrate the color, pattern, or texture.
3. Search Engine Optimization
Complete fields for URL Key, Meta Title, Meta Keywords and Meta Descriptions for displaying in search results.
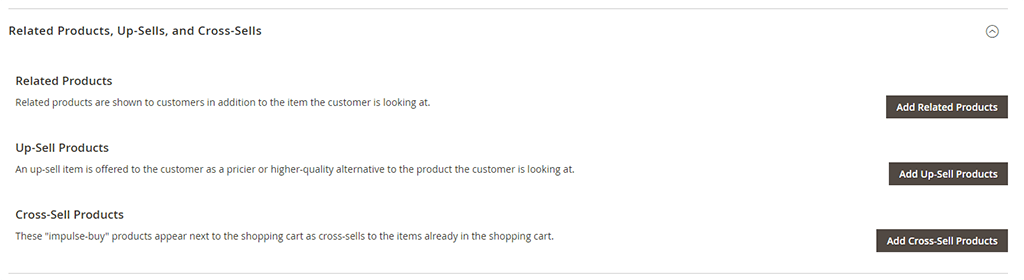
4. Related Products, Up-Sells, Cross-Sells
Add suitable products to promote them on the product page.
5. Customizable Options
Configure this option to offer customers a selection of options with a variety of text, selection, and date input types.
6. Product in Websites
Select the websites where the product will be available.
7. Design
You can change the layout and determine where product options appear in this section.
8. Gift Options
This can be set to allow a gift message to be included during checkout.
You can skip the Download information section as this is usually not applicable for Virtual Product.
Step 6: Publish the Product
1. If you are ready to publish the product in the catalog, switch Enable Product to “Yes”.
2. Do one of the following:
Method 1: Save and Preview
- In the upper-right corner, tap Save.
- To view the product in your store, choose Customer View on the Admin menu. The store opens in a new browser tab.

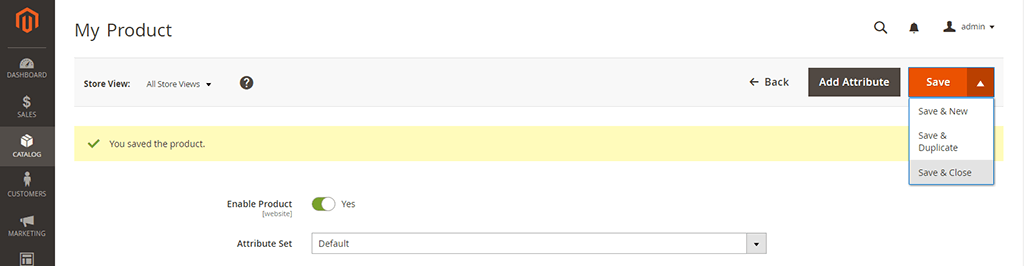
Method 2: Save and Close
On the Save menu, choose Save & Close.
Related post: How to Configure Downloadable Products in Magento


