 for Your Magento Store")
Table of contents
Google Sitemap is an .xml file which serves as a guideline for Google bots (and other search engines’ crawlers as well) on all of the pages on your website so it would be easier than finding and indexing the pages on their own.
Normally you have to do this manually if your website is small enough but in the case of an e-commerce site built on Magento, there usually are many products, which means many URLs and that makes manually creating a sitemap impossible.
Fortunately, Magento has a built-in functionality of generating a sitemap.
If you do not know it yet, this guide is going to help you create and submit a .xml sitemap for your Magento stores.
(Optional) Pre-configuration
In your Magento backend, go to Stores > Settings > Configuration. On the left menu, under the Catalog section, click on XML Sitemap.
Set sitemap file limits
Since there are limits to the size of your sitemap and the number of URLs per sitemap, it may be a good idea to check if the Sitemap File Limits settings in your Magento 2 backend are correctly configured.
You can find the Sitemap File Limits settings just below the Generation Settings, in the XML Sitemap section.
By default, Magento has a maximum number of 50.000 URLs per file (which, as stated in the official guideline, is also the official maximum number of URLs allowed per sitemap), and 10485760 bytes (10.48 MB) maximum file size (which is the old limit for sitemap file size).
To change these default values, uncheck Use system value and set your desired values.
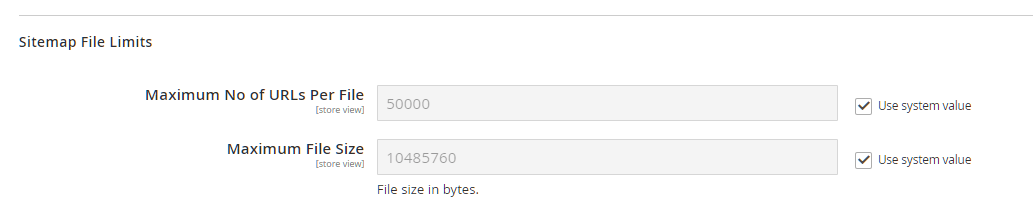
For the best practice, you’ll want your sitemap files to have as much headroom as possible, which is why you should stick with the default Maximum No of URLs Per File (which is 50000 URLs) and change maximum file size to 52428800 (= 50 MB).
Set frequency and priority
Additionally, you can also set the frequency at which crawlers should crawl your page, and/or set the priority of a specific page type (e.g. Categories) in relation to other page types in your store (e.g., CMS pages, product pages).
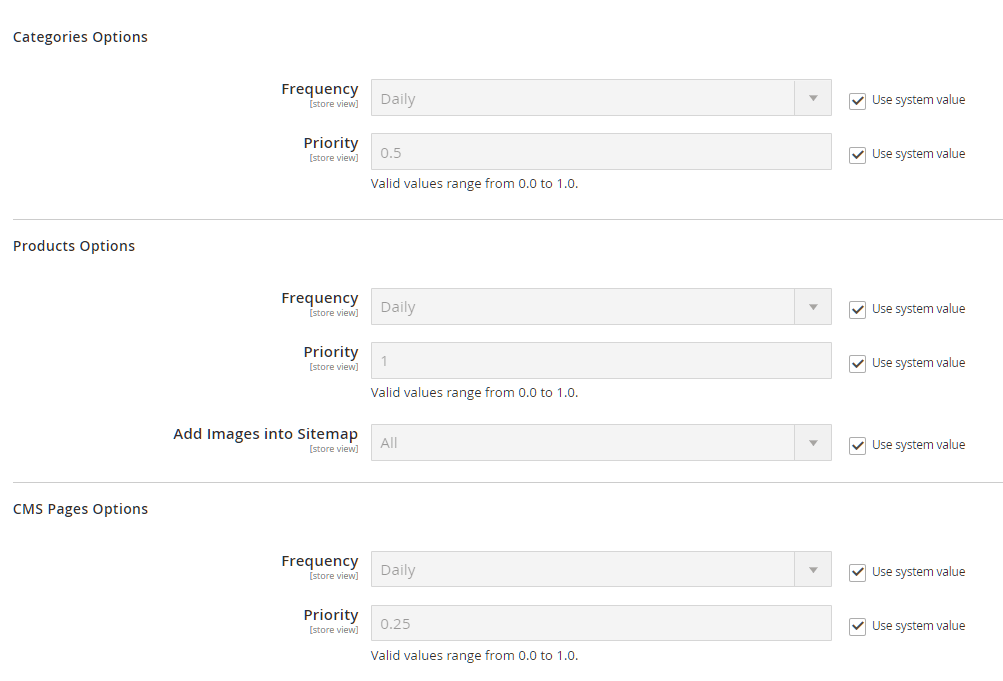
Frequency: Hint to crawlers how often should they crawl this page type for changes. This setting affects the <changefreq> tag in your generated XML sitemap.
Available options are: Always / Hourly / Daily / Weekly / Monthly / Yearly / Never
Priority: Determine the priority of this page type in relation to other types of content on your store. A page type with high priority (1.0) may be indexed more often. This setting affects the <priority> tag in your generated XML sitemap.
Available options: Any value between 0.0 and 1.0, with 0 being the lowest priority and 1 being the highest.
Recommended settings: leave everything as default (Use system value)
Step 1: Generate the Sitemap
Magento 2 XML Sitemap extension generates and splits XML sitemap for Magento 2 store to boost up crawling by search engines.
In your Magento backend, go to Stores > Settings > Configuration. On the left menu, under the Catalog section, click on XML Sitemap.
In the same XML Sitemap setting, expand the Generation Settings section.
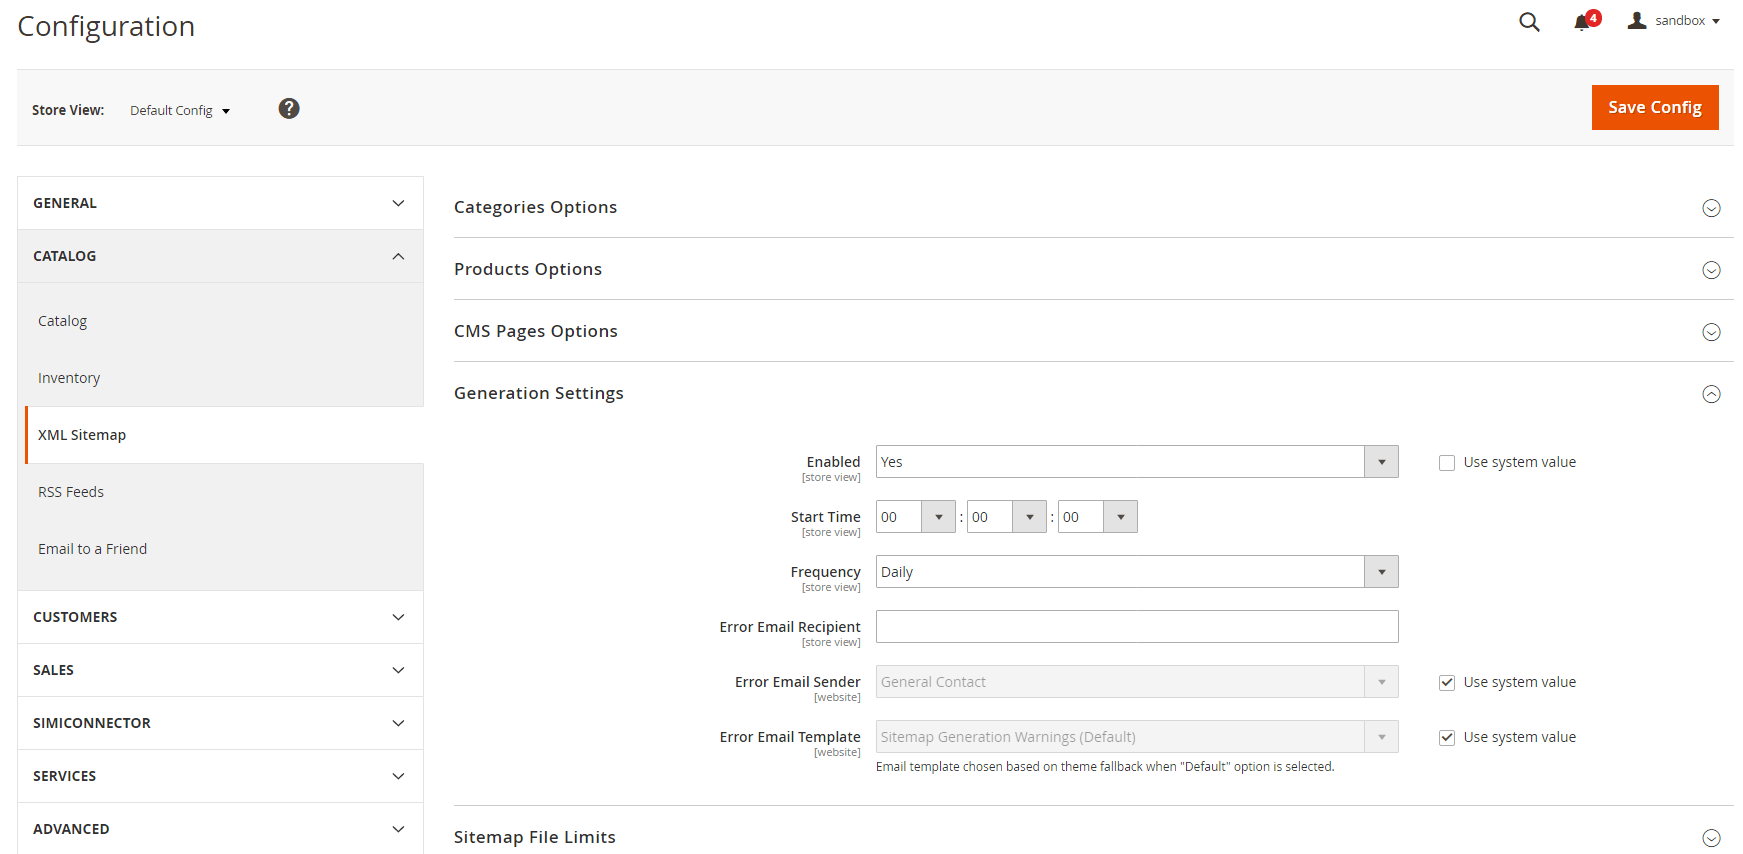
Under Generation Settings, uncheck Use system value box on Enabled and set Enabled to Yes. Leave all other configurations as default and click Save Config.
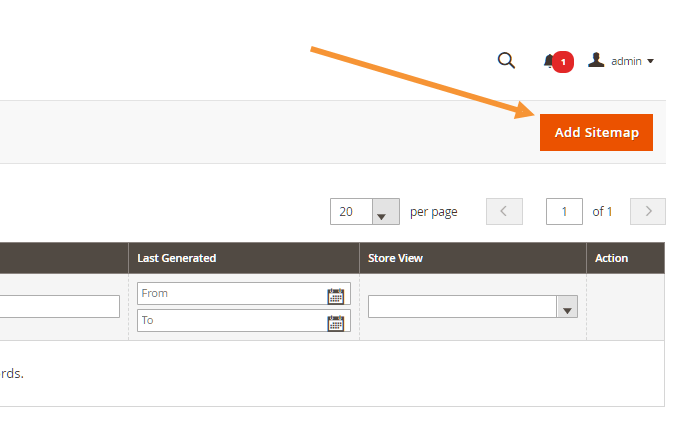
Next, go to Marketing > SEO & Search > Site Map and click on the Add Sitemap button.
In the New Site Map page that follows, enter your filename and path.
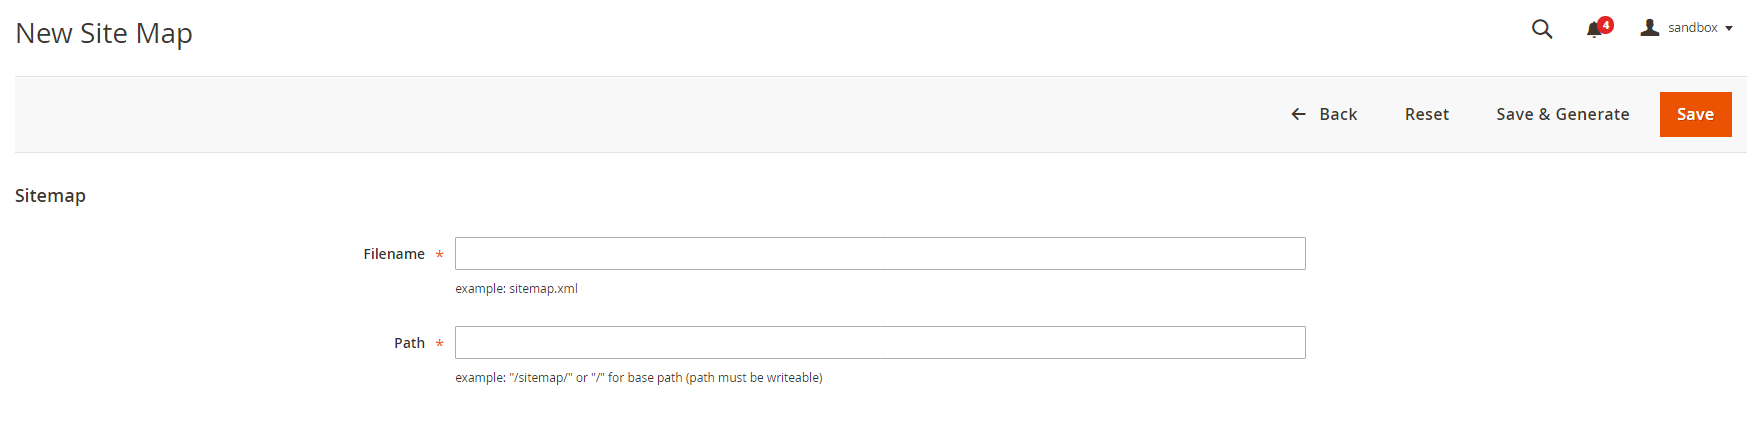
- Filename: Enter
sitemap.xml
For the best result, you should stick with the default filename sitemap.xml. However, sitemap filename can be whatever, and you need only to inform search engine crawlers about your sitemap location using the suggested methods.
- Path:
- To put the sitemap in a folder, enter the path to the folder:
/sitemaps - To put the sitemap at the base path (root) of your store, enter a forward slash:
/(this is the recommended best practice)
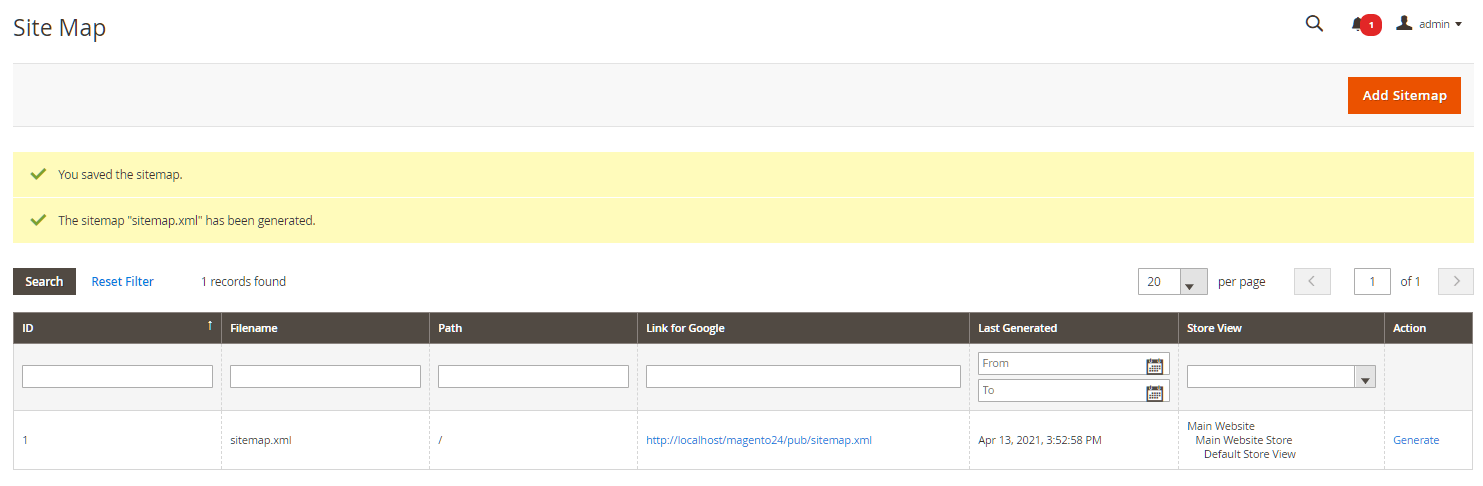
After you’re decided on the filename and path for your new sitemap, click on the Save & Generate button to create the sitemap.. Once generated, the sitemap should appear in the Sitemap list, with a link to your sitemap.
Step 2: Submit your .xml Sitemap to Google
Log in to your Google Search Console account (or create a new one if you don’t have an account yet).
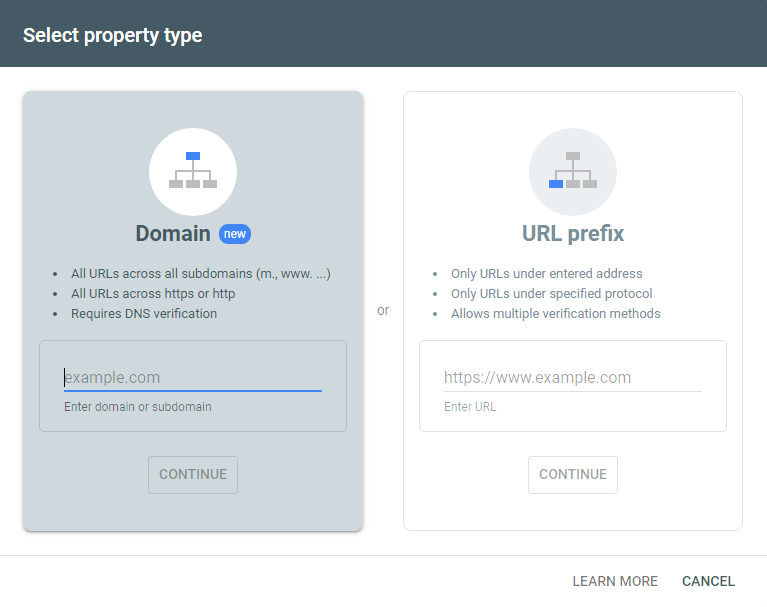
Click the Add Property button. Enter your website homepage into the popup and then click Add. For example: https://www.example.com/.
You will then be asked to verify that you are the owner of this site. You can use your Google Analytics account or one of the alternate methods that Google offer.
After verification succeeds, you can access your site property from Search Console Dashboard. Go to Index > Sitemaps. Enter the sitemap name and click Submit.

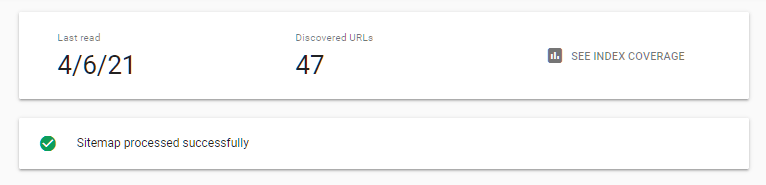
Google Search Console will then show the number of Submitted URLs in your sitemap, along with the discovered URLs. If you see 0 discovered URLs, don’t worry, this is totally common. It takes Google a few days to index your submitted URLs, and the number of Indexed URLs will show up after some time.
It’s done! You have successfully created a sitemap for your Magento website.
Please remember this does NOT guarantee that all of your URLs will be indexed by Google, but rather makes the index process faster and easier.


