
Table of contents
Built by Magento themselves, Magento PWA Studio is a collection of tools made to help developers build PWAs on top of the Magento backend. As it is an open-source project on GitHub, Magento PWA Studio is constantly being worked on by its community of over 100 contributors worldwide.
Magento PWA Studio uses several external libraries such as:
The Magento PWA Studio project has been in development for quite a while, and it’s been generally stable from version 7.0 onwards. To best help you get to know this tool, in this tutorial we’ll be going through the basics of Magento PWA Studio and help you learn in the process.
After this tutorials, you are expected to build a fully-functional Magento PWA site with PWA Studio sucessfully.
The first thing is to install PWA Studio. You can follow this step-by-step guide to do that: How to Setup Magento 2 PWA Studio
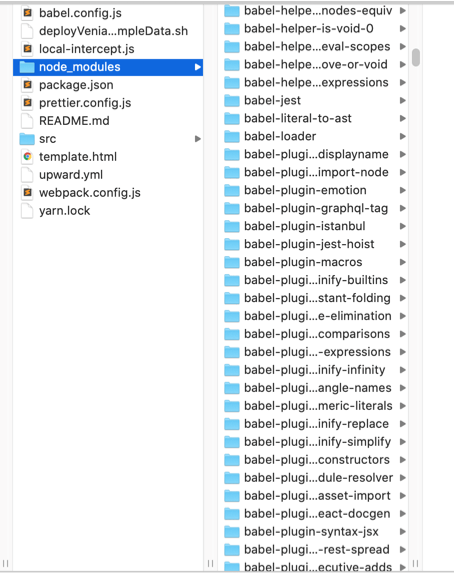
1. Project folder structure
The packages used in the project are located inside node_modules folder.
We can see there are a lot of packages. We need to take another approach to understand the package structure. Let’s take a look at packages directory of pwa-studio project on GitHub.
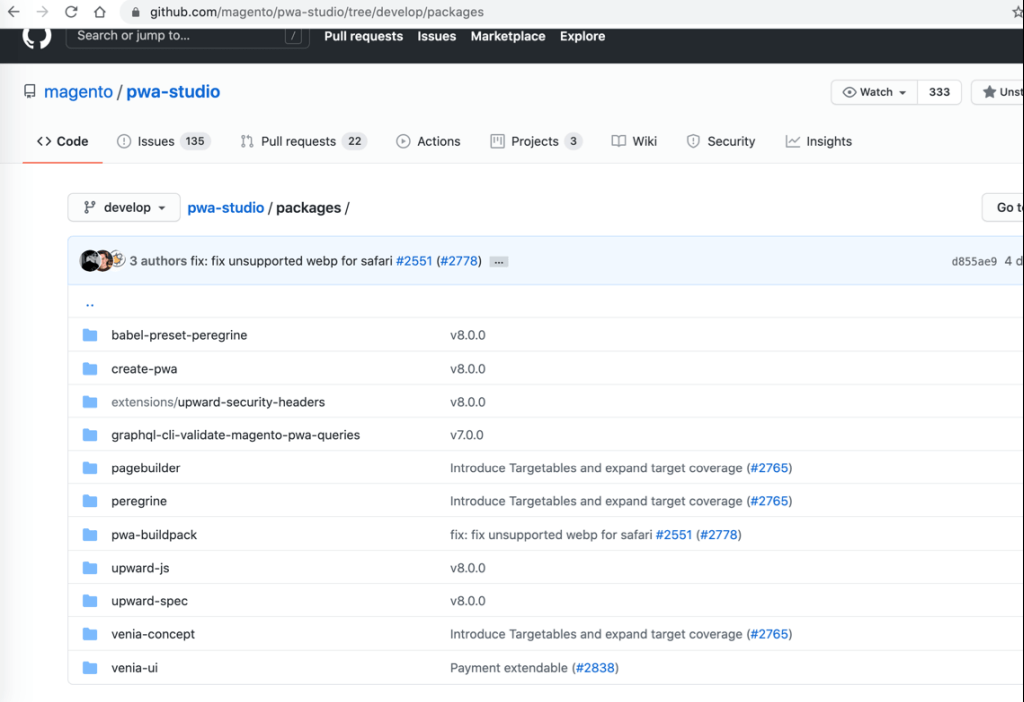
Now that’s better.
You don’t need to understand all of the packages in here, only the most important ones:
- venia-concept: a storefront demo named Venia which is a proof-of-concept Magento PWA. It pulls the sources from other packages to build the Venia storefront demo: https://venia.magento.com
- peregrine: contains a collection of useful components and custom React hooks for a Magento PWA.
- venia-ui: a UI library that we can use for our project.
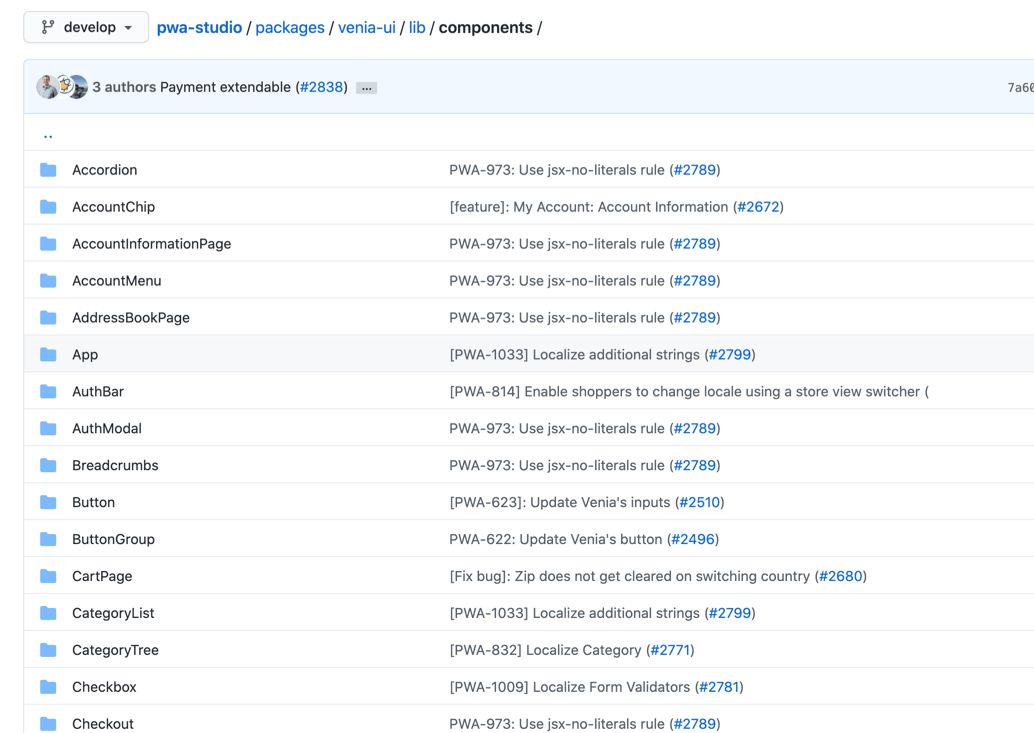
venia-ui will be called from peregrine. It contains components such as buttons, text boxes, text fields, and even more complicated page components like category trees, category list etc.
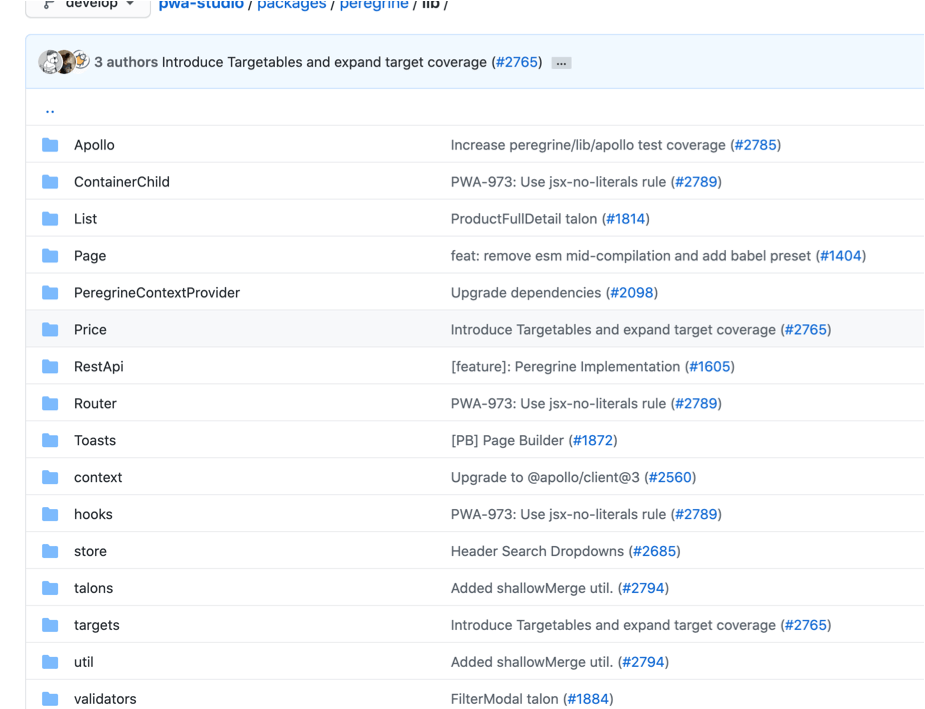
On the other hand, peregrine contains logic inside these views:
2. Create a new router
The most basic thing to do when modifying a project is creating a new page, with pre-configured routers.
For example, here we’ll create a router which we can use to open a brands list.
Create a file at src/targets/local-intercept.js with the following content:
module.exports = targets => {
     targets.of("@magento/venia-ui").routes.tap(routes => {
         routes.push({
             name: "BrandList",
             pattern: "/brand.html",
             path: require.resolve("../components/brands/index.js")
         });
         return routes;
     });
 };
Modify package.json to use the file we’ve just created:
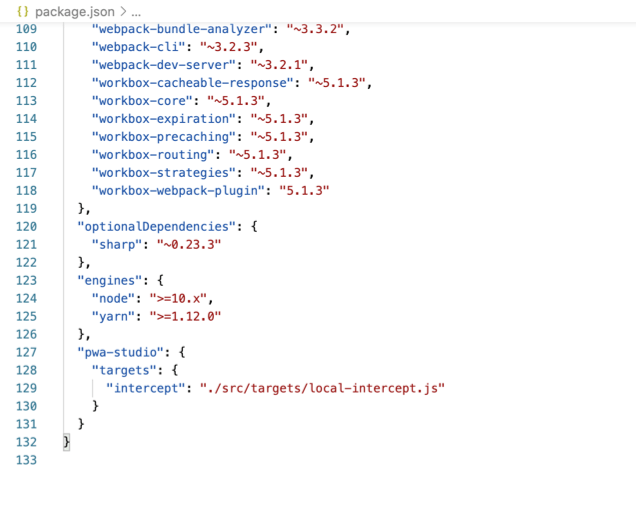
  "pwa-studio": {
    "targets": {
      "intercept": "./local-intercept.js"
    }
Create a component corresponding to the router which we just created above, in src/components/brands/index.js:
import React, { useMemo } from "react";
const Brands = props => {
	return <div>a</div>
}

export default Brands;
Stop and restart runtime, then check the URL brand.html if it returns anything.
In the router, if you want to pass more information or if you have conditions for the router, use the following syntax:
targets.of("@magento/venia-ui").routes.tap(routes => {
     routes.push({
         name: "BrandCategory",
         pattern: "/brand/category/:categoryUrl?",
         path: require.resolve("../components/category/index.js")
     });
     routes.push({
         name: "BrandDetails",
         pattern: "/brand/:brandUrl?",
         path: require.resolve("../components/branddetails/index.js")
     });
     routes.push({
         name: "BrandList",
         pattern: "/brand.html",
         path: require.resolve("../components/brands/index.js")
     });
     return routes;
 });
These routers will pass categoryURL and brandURL into the components which we’ll be using, like this:
in src/components/branddetails/index.js
import React from "react";
import { useParams } from "react-router-dom";

const BrandDetails = () => {
	const classes = defaultClasses;
	const { brandUrl = "" } = useParams();
	console.log(brandUrl);
	return <div>yess!</div>;
}
3. GraphQL
GraphQL, in a nutshell, is a query language for APIs.
You can try it out using this Chrome extension: https://chrome.google.com/webstore/detail/altair-graphql-client/flnheeellpciglgpaodhkhmapeljopja
Calling GraphQL from React
There’s a library we can use to run GraphQL on React named apollo. You can learn more about how to use it here:
https://www.apollographql.com/docs/react/api/react/hooks/#usequery
(apollo supports both hook and class components, but Magento now goes full hooks so if you have the passion for it, we can learn to use apollo for class component later on)
There are hooks that you need to understand thoroughly:
useQueryuseLazyQueryuseMutation
And a function to convert strings into apollo query: gql

apollo can either load a .graphql file, or a .js file if the query string is wrapped in gql function)
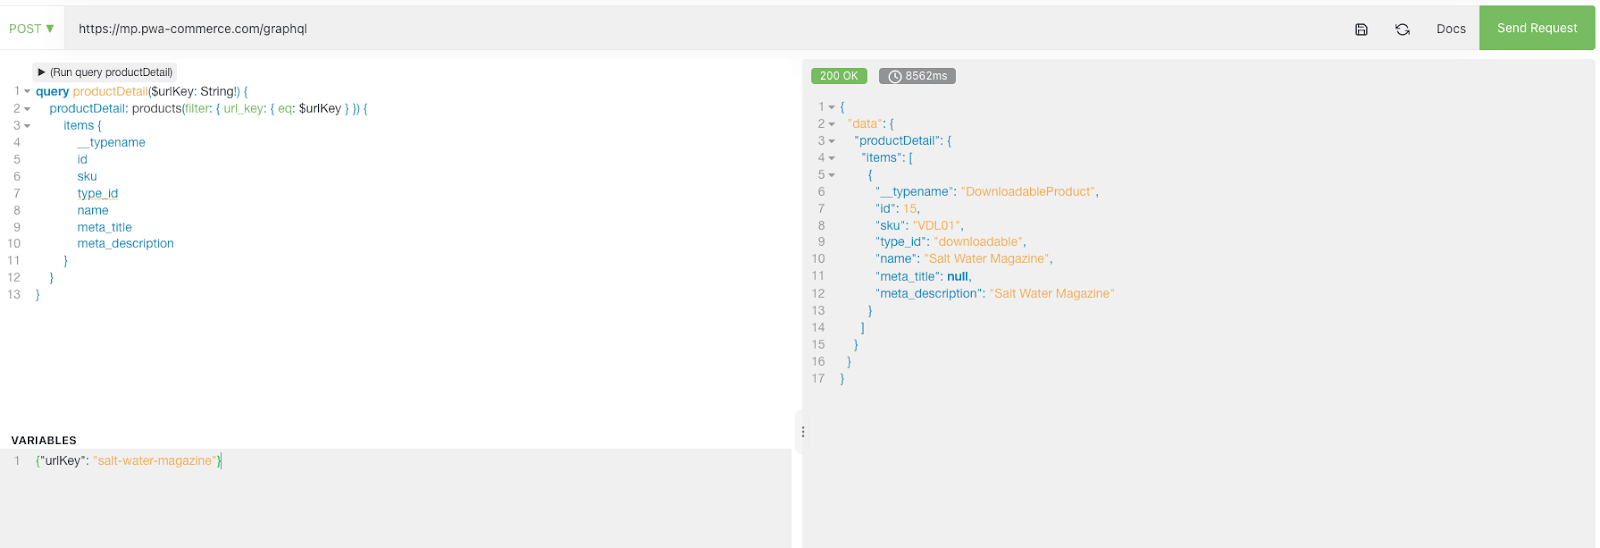
Create a query file
Let’s try to create this query in a file named Brand.gql.js.
import gql from 'graphql-tag';

export const GET_BRANDS_LIST = gql`
   query mpbrand (
       $pageSize : Int!,
       $currentPage : Int
   ) {
       mpbrand (
           filter : {}
           pageSize : $pageSize
           currentPage : $currentPage
       ) {
           items {
               brand_id
               attribute_id
               option_id
               value
               default_value
               store_id
               page_title
               url_key
               image
               is_featured
               short_description
               description
               static_block
               meta_title
               meta_keywords
               meta_description
               mpbrandCategories {
                   cat_id
                   name
                   url_key
               }
           }
           total_count
       }
   }
`;
The above query is used to get the brand list, so we’ll import it in the brand list page.
Use the useQuery hook to fetch data
First we import it:
import { useQuery } from '@apollo/client';
import { GET_BRANDS_LIST } from './Brand.gql'
Then we call it:
   const {
       data: brandsData,
       loading: brandsLoading,
       error: brandsError
   } = useQuery(GET_BRANDS_LIST, {
       variables: {
           pageSize: 99999,
           currentPage: 1,
       }
});Notes: pageSize and currentPage will be used in case there are too many brands and our brand list page need to be splitted into multiple pages.
4. Override components
Say we want to add Brands page link into Venia header like this:
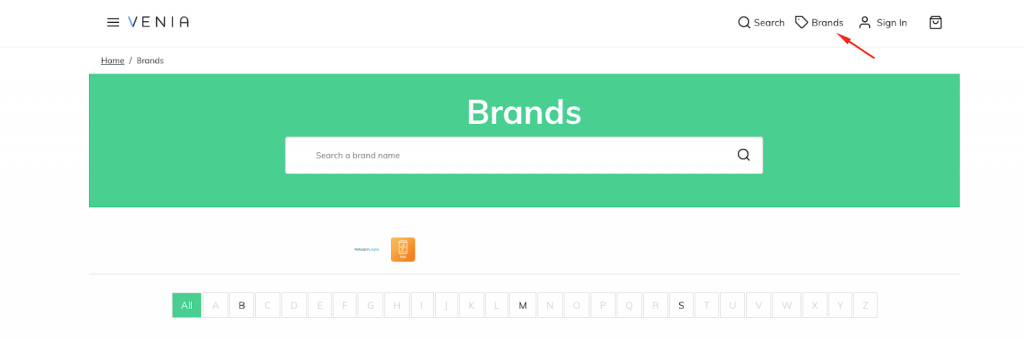
To add or modify components from core, we need to rewrite those components, since Magento PWA Studio does not allow injecting content into existing components.
Declare override
In the file local-intercept.js which we previously created in the router tutorial, add the following declarations and export:
module.exports = targets => {
   /*...*/
   targets.of('@magento/pwa-buildpack').webpackCompiler.tap(compiler => {
       new moduleOverridePlugin(componentOverrideMapping).apply(compiler);
   })
};
Create override mapping and plugin for webpack
In src/targets/componentOverrideMapping.js:
module.exports = componentOverrideMapping = {
   [`@magento/venia-ui/lib/components/Header/header.js`]: './src/overwrites/components/header.js',
};
In src/targets/moduleOverrideWebpackPlugin.js:
const path = require('path');
const glob = require('glob');

module.exports = class NormalModuleOverridePlugin {
 constructor(moduleOverrideMap) {
   this.name = 'NormalModuleOverridePlugin';
   this.moduleOverrideMap = moduleOverrideMap;
 }

 requireResolveIfCan(id, options = undefined) {
   try {
     return require.resolve(id, options);
   } catch (e) {
     return undefined;
   }
 }
 resolveModulePath(context, request) {
   const filePathWithoutExtension = path.resolve(context, request);
   const files = glob.sync(`${filePathWithoutExtension}@(|.*)`);
   if (files.length === 0) {
     throw new Error(`There is no file '${filePathWithoutExtension}'`);
   }
   if (files.length > 1) {
     throw new Error(
       `There is more than one file '${filePathWithoutExtension}'`
     );
   }

   return require.resolve(files[0]);
 }

 resolveModuleOverrideMap(context, map) {
   return Object.keys(map).reduce(
     (result, x) => ({
       ...result,
       [require.resolve(x)]:
         this.requireResolveIfCan(map[x]) ||
         this.resolveModulePath(context, map[x]),
     }),
     {}
   );
 }

 apply(compiler) {
   if (Object.keys(this.moduleOverrideMap).length === 0) {
     return;
   }

   const moduleMap = this.resolveModuleOverrideMap(
     compiler.context,
     this.moduleOverrideMap
   );

   compiler.hooks.normalModuleFactory.tap(this.name, (nmf) => {
     nmf.hooks.beforeResolve.tap(this.name, (resolve) => {
       if (!resolve) {
         return;
       }

       const moduleToReplace = this.requireResolveIfCan(resolve.request, {
         paths: [resolve.context],
       });
       if (moduleToReplace && moduleMap[moduleToReplace]) {
         resolve.request = moduleMap[moduleToReplace];
       }

       return resolve;
     });
   });
 }
};
moduleOverrideWebpackPlugin.js file will map components that we want to override in componentOverrideMapping.js. In this tutorial we will try to override Venia header with the component that we’ll create in the next step.
Create the override file
We will create the override file in src/overwrites/components/header.js (with content copied from “@magento/venia-ui/lib/components/Header/header.js“).
import React, { Suspense } from 'react';
import { shape, string } from 'prop-types';

import Logo from '@magento/venia-ui/lib/components/Logo';
import { Link, resourceUrl, Route } from '@magento/venia-drivers';

import AccountTrigger from '@magento/venia-ui/lib/components/Header/accountTrigger';
import CartTrigger from '@magento/venia-ui/lib/components/Header/cartTrigger';
import NavTrigger from '@magento/venia-ui/lib/components/Header/navTrigger';
import SearchTrigger from '@magento/venia-ui/lib/components/Header/searchTrigger';
import OnlineIndicator from '@magento/venia-ui/lib/components/Header/onlineIndicator';
import { useHeader } from '@magento/peregrine/lib/talons/Header/useHeader';

import { mergeClasses } from '@magento/venia-ui/lib/classify';
import defaultClasses from '@magento/venia-ui/lib/components/Header/header.css';
import PageLoadingIndicator from '@magento/venia-ui/lib/components/PageLoadingIndicator';

import BrandIcon from '../../components/header/BrandIcon'; // import Brands icon into header

const SearchBar = React.lazy(() => import('@magento/venia-ui/lib/components/SearchBar'));

const Header = props => {
    const {
        handleSearchTriggerClick,
        hasBeenOffline,
        isOnline,
        searchOpen,
        isPageLoading
    } = useHeader();

    const classes = mergeClasses(defaultClasses, props.classes);
    const rootClass = searchOpen ? classes.open : classes.closed;
    const searchBarFallback = (
        <div className={classes.searchFallback}>
            <div className={classes.input}>
                <div className={classes.loader} />
            </div>
        </div>
    );
    const searchBar = searchOpen ? (
        <Suspense fallback={searchBarFallback}>
            <Route>
                <SearchBar isOpen={searchOpen} />
            </Route>
        </Suspense>
    ) : null;
    const pageLoadingIndicator = isPageLoading ? (
        <PageLoadingIndicator />
    ) : null;

    return (
        <header className={rootClass}>
            <div className={classes.toolbar}>
                <div className={classes.primaryActions}>
                    <NavTrigger />
                </div>
                {pageLoadingIndicator}
                <OnlineIndicator
                    hasBeenOffline={hasBeenOffline}
                    isOnline={isOnline}
                />
                <Link to={resourceUrl('/')}>
                    <Logo classes={{ logo: classes.logo }} />
                </Link>
                <div className={classes.secondaryActions}>
                    <SearchTrigger
                        active={searchOpen}
                        onClick={handleSearchTriggerClick}
                    />
                    <AccountTrigger />
                    <SimiCartIcon />
                    <CartTrigger />
                </div>
            </div>
            {searchBar}
        </header>
    );
};

Header.propTypes = {
    classes: shape({
        closed: string,
        logo: string,
        open: string,
        primaryActions: string,
        secondaryActions: string,
        toolbar: string
    })
};

export default Header;
Create icon for Brands link
Create a file under src/components/header/BrandIcon.js. Note that we imported this file in header.js above.
import React from 'react';
import Icon from '@magento/venia-ui/lib/components/Icon';
import { Tag as TagIcon } from 'react-feather';
import { resourceUrl, useHistory } from '@magento/venia-drivers';
import classes from './brandicon.css';
import { FormattedMessage, useIntl } from 'react-intl';

const BrandIcon = () => {
   const history = useHistory();
   const { formatMessage } = useIntl();

   return (
       <button
           aria-label={formatMessage({
               id: 'brand.brandLabel',
               defaultMessage: 'Brands'
           })}
           className={classes.root}
           onClick={() => history.push(resourceUrl('/brand.html'))}
       >
           <Icon src={TagIcon} />
           <span className={classes.label}>
               <FormattedMessage id={'Brands'} />
           </span>
       </button>
   )
}
export default BrandIcon
5. Talons
Essentially this is a type of React Hook created by Magento, under the format of ‘useAbc’. It only processes logic and has nothing to do with the UI.
Pre-built talons are located in the peregrine package. If you want to add your custom code, you can add it into src/talons.
*In MAMP/LAMP stack, we use the MVC model. Separating the view and talons in React serves the same purpose as MVC.
*You don’t need to import or inherit anything in talons. Just keep in mind that talons only process logic.
For example, we use talons to build the Brand Details page
First, let’s create hooks view for this page:
import React from "react";
import { FormattedMessage } from 'react-intl';
import { useParams } from "react-router-dom";
import { useBrandDetails } from '../../talons/useBrandDetails'; //đây talons đây
import defaultClasses from './branddetails.css';
import { fullPageLoadingIndicator } from '@magento/venia-ui/lib/components/LoadingIndicator';
import { Link } from '@magento/venia-drivers';
import { Title, Meta } from '@magento/venia-ui/lib/components/Head';

const BrandDetails = () => {
   const classes = defaultClasses
   return (
       <div className={classes.rootDetails}>
       </div>
   );
}

export default BrandDetails;
Create a separate folder for talons in src/talons, then create a .js file called useBrandDetails with the following content:
import { useQuery } from '@apollo/client';
import { GET_BRANDS_BY_URL } from './Brand.gql';

const GET_BRANDS_BY_URL = gql`
   query mpbrand (
       $url_key : String!
   ) {
       mpbrand (
           filter : {url_key : {eq: $url_key}}
       ) {
           items {
               brand_id
       attribute_id
       option_id
       value
       default_value
       store_id
       page_title
       url_key
       image
       is_featured
       short_description
       description
       static_block
       meta_title
       meta_keywords
       meta_description
               mpbrandCategories {
                   cat_id
                   name
                   url_key
               }
           }
           total_count
       }
   }
`;


export const useBrandDetails = props => {
   const { url_key } = props
   //get Brand Details useQuery
   const {
       data: brandData,
       loading: brandLoading,
       error: brandError
   } = useQuery(GET_BRANDS_BY_URL, {
       variables: {
           url_key: url_key
       }
   });

   let derivedErrorMessage;
   if (brandError) {
       const errorTarget = brandError;
       if (errorTarget.graphQLErrors) {
           // Apollo prepends "GraphQL Error:" onto the message,
           // which we don't want to show to an end user.
           // Build up the error message manually without the prepended text.
           derivedErrorMessage = errorTarget.graphQLErrors
               .map(({ message }) => message)
               .join(', ');
       } else {
           // A non-GraphQL error occurred.
           derivedErrorMessage = errorTarget.message;
       }
   }

   return {
       brandData,
       brandLoading,
       derivedErrorMessage
   }
}
Inject hooks into brand component:
   const { brandUrl = "" } = useParams();
   const { brandData, brandLoading, derivedErrorMessage } = useBrandDetails({ url_key: brandUrl.replace('.html', '') });
And that’s it. Now we have data, error, and loading to be used in view without implementing the logic.
Conclusion
With all this basic knowledge, you can create for yourself a basic PWA with Magento PWA Studio. If it ever gets too tough, don’t hesitate to shoot us up a question in the comment section below!
Further reading


