
Table of contents
The ability within Magento to define specific customer groups (allocate each customer to a group and control store behaviour according to which group a customer belongs to) is hugely important.
In this article we are going to discuss how various customer groups can be created and how to assign a customer to a specific customer group created in Magento eCommerce portal.
Actually, creating customer group is quite similar between Magento 1 and Magento 2. But I would show you more clearly:
Magento 1:
User can create and view customer groups from Magento admin panel. Admin can view all defined customer groups by clicking on Customers > Customer Groups. By default there are two customer groups defined in a fresh Magento installation.
- General
- NOT LOGGED IN
New customer group creation:
Admin can create new customer groups from admin panel. Admin just have to click on Customers > Customer Groups. All defined customer groups will appear in a tabular format. The steps to create a customer group are given below:
- Click Add New Customer Group button.
- New Customer Group section appears.
- Enter new customer group name
- Select the ‘Tax Class’ from Tax Class drop down.
- Click Save Customer Group button.
- New Customer Group will appear on the top of the list along with an auto generated ID.

View customer groups:
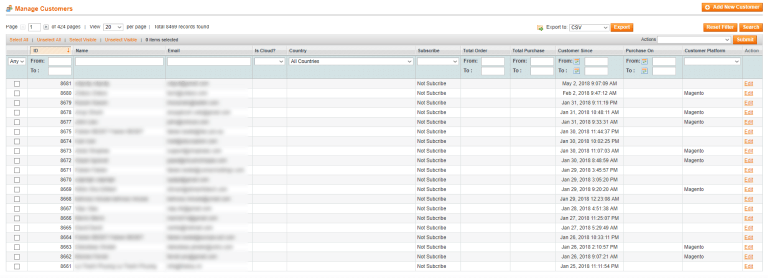
Admin can view the customer groups assigned to customers by clicking on Customers > Manage Customers. All customer details will appear in a tabular format. Admin can view the customer group of each and every customer in Group column.

Assign a customer to a specific customer group:
Admin has the ability to assign a customer to a particular customer group. The required steps are given below:
- Click on Customers > Manage Customers
- All registered customer details will appear in a tabular format
- Beside each customer detail there is a check box
- Select the check boxes beside customers which will be assigned to a particular customer group
- Click the Actions drop down and select the action Assign a customer group
- Another drop down will appear listing all available customer groups
- Select the desired customer group
- Click the Submit button
- All selected customers will be assigned to this new group
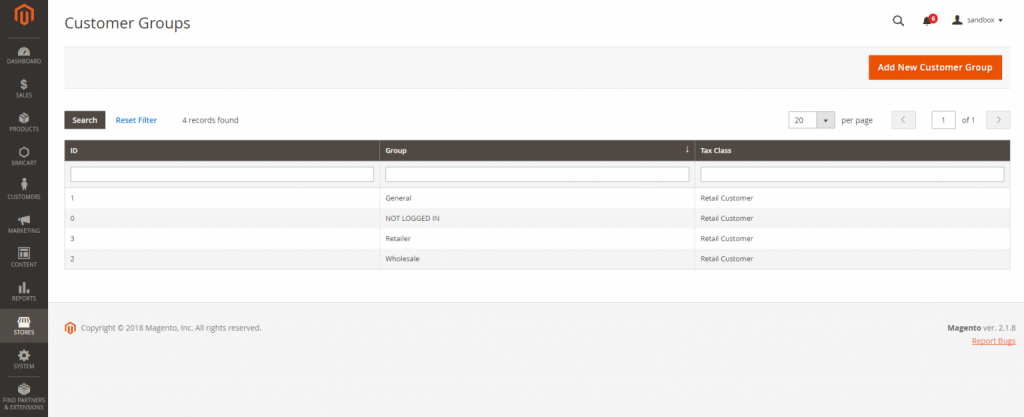
Magento 2:
Customer groups determine which discounts are available, and the tax class that is associated with the group. The default customer groups are General, Not Logged In, and Wholesale.

To create a customer group:
- On the Admin sidebar, click Stores. Then under Other Settings, choose Customer Groups.
- Click Add New Customer Group. Then, do the following:
- Enter a unique Group Name less than 32 characters to identify the group.
- Select the Tax Class that applies to the group.
- When complete, click Save Customer Group.
To edit a customer group:
- On the Admin sidebar, tap Stores. Then under Other Settings, choose Customer Groups.
- Open the record in edit mode.
- Make the necessary changes.
- When complete, click Save Customer Group.
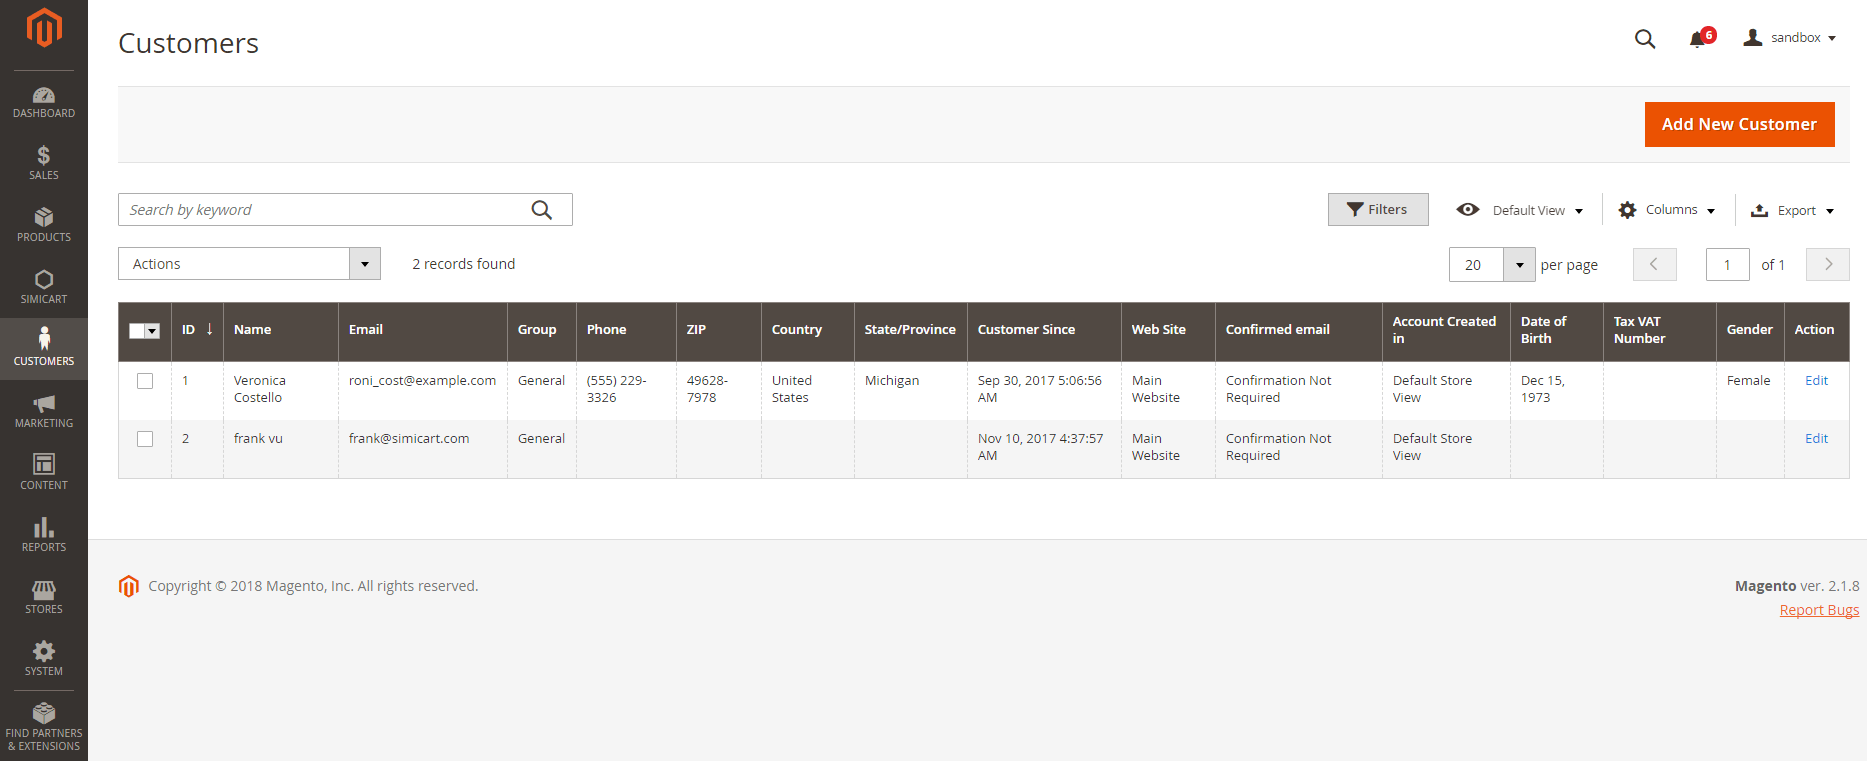
To assign a customer to a different group:
- On the Admin sidebar, click Customers. Then, choose All Customers.
- Find the customer in the list, and mark the checkbox in the first column. Then, do the following:
- Set the Actions control to “Assign a Customer Group.”
- Set the Group control to the new group.
- When prompted to confirm, click OK.
To delete a customer group:
- On the Admin sidebar, click Stores. Then under Other Settings, choose Customer Groups.
- Open the record in edit mode.
- In the button bar, click Delete Customer Group.
- When prompted to confirm, click OK.
- When complete, click Save Customer Group.


