Table of contents
Updated April 13th, 2021: Users may run into a 404 Not Found error when trying to install Magento 2.4.2. Follow the suggested solution in the article for the best result.
It has been quite a long time since Magento introduced their 2.0 version. With more friendly user interface and improved performance, it is likely that many existing Magento 1 users will move to Magento 2 sooner or later. Flowing with the trend, SimiCart also released Magento 2 mobile app in December 2016.
Today, we’re gonna show you how to install Magento 2.4 locally on Windows using XAMPP server. This tutorial is targeted on current Magento 2 users and also users who are completely new to Magento. Now, let’s get started!
Part 1: Install and configure XAMPP
Step 1: Download XAMPP
Download link: https://www.apachefriends.org/download.html
We recommend installing XAMPP with PHP version 7.4.x, which is recommended by Magento for M2.4. Also according to Magento, you can install Magento 2.4 with PHP 7.3, but it is not tested or recommended.
Step 2: Install XAMPP
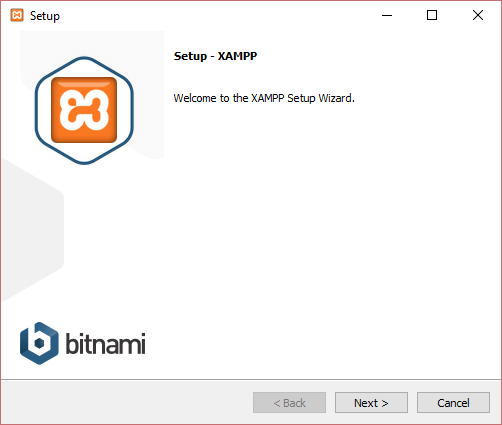
After downloading XAMPP, double-click on the file to install it on your computer.
Click Next.
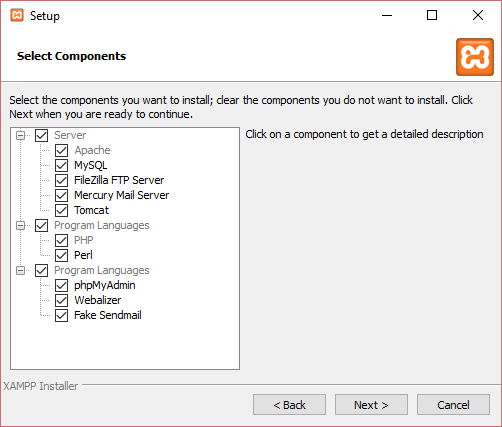
Leave the default selection as in the image. Click Next.
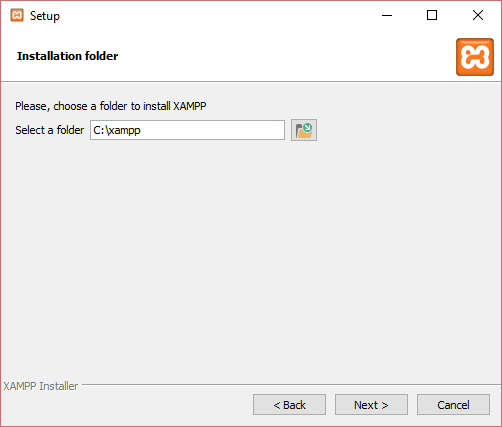
Choose your installation folder. The default location is C:\xampp. After that, click Next.
Click Next.

Click Next.
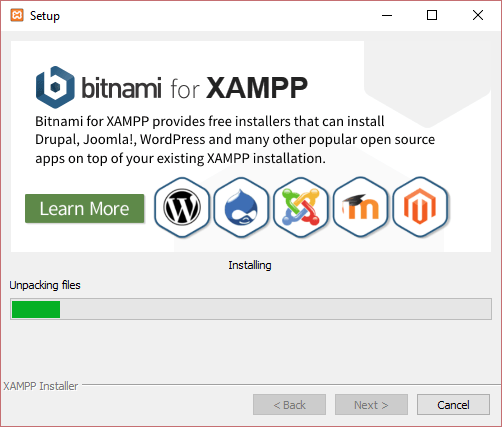
Setup will now install xampp on your computer. Please wait for a while.
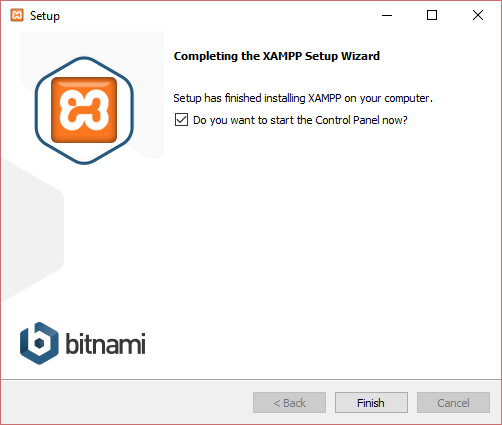
After setup is finished, you will see the option “Do you want to start the Control Panel now?”. Keep it selected. Click Finish to exit setup and enter XAMPP Control Panel.
Step 3: Configure XAMPP
In XAMPP Control Panel, click Config button on “Apache” row, and click “PHP (php.ini)“.

In the php.ini file, find these rows and remove ; before each row:
;extension=intl
;extension=soap
;extension=sockets
;extension=sodium
;extension=xsl
Expand memory_limit to 4G:
memory_limit=4G
After you’ve done, save and close the file. Then, click the Start button on 2 rows Apache and MySQL to start them. Don’t quit XAMPP after this step, just let it run.
Step 4: Configure hosts file
Open C:\Windows\System32\drivers\etc\hosts. Add the following line to the last row:
127.0.0.1 www.localhost.com
Step 5: Create a database
Browse the URL http://localhost/phpmyadmin/ to access phpMyAdmin page. Put in a database name (“Magento2”, for example) and click Create.
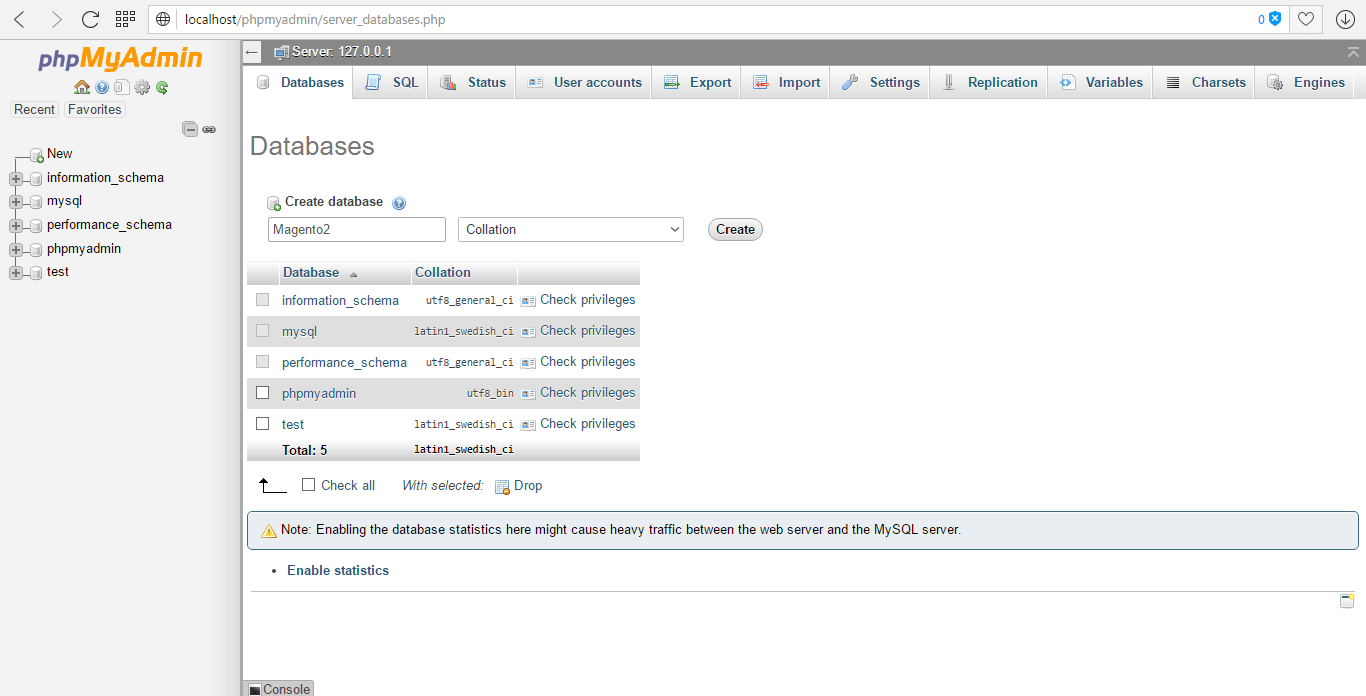
Take note of your database name, as you’ll want to install Magento on it later on (using the root user).
Part 2: Install Elasticsearch
As of version 2.4, Magento requires Elasticsearch to be the catalog search engine.
Download Elasticsearch 7.6.0: https://www.elastic.co/downloads/past-releases/elasticsearch-7-6-0 (Magento 2.4.x is tested with Elasticsearch 7.6.x only. You can use other 7.x versions at your discretion, but we recommend using the tested version of Elasticsearch.)
Extract the .zip file you’ve just downloaded. In a terminal window, cd to the extracted directory, and run this command:
.\bin\elasticsearch.bat
When the installation is complete, you can check if Elasticsearch is properly installed at http://localhost:9200, which should give you something like this:
{
   "name" : "Cp8oag6",
   "cluster_name" : "elasticsearch",
   "cluster_uuid" : "AT69_T_DTp-1qgIJlatQqA",
   "version" : {
     "number" : "7.6.0",
     "build_flavor" : "default",
     "build_type" : "tar",
     "build_hash" : "f27399d",
     "build_date" : "2016-03-30T09:51:41.449Z",
     "build_snapshot" : false,
     "lucene_version" : "8.7.0",
     "minimum_wire_compatibility_version" : "1.2.3",
     "minimum_index_compatibility_version" : "1.2.3"
   },
   "tagline" : "You Know, for Search"
 }
Part 3: Download Magento using Composer
As some of the plugins from Magento 2 do not work with composer 2.x, you’ll want to use a stable version of composer 1.x to download Magento. The best way to do this would be by installing the Composer-Setup.exe.
This setup will install the latest composer version and set up PATH environment variables so that you can conveniently call composer from any directory. After you’re finished installing composer, it’s required that you should downgrade to an earlier 1.x version using composer self-update --1 in order to ensure the best compatibility.
Next, cd to C:\xampp\htdocs and run the following command:
composer create-project --repository-url=https://repo.magento.com/ magento/project-community-edition=2.4.2 <install-directory-name>
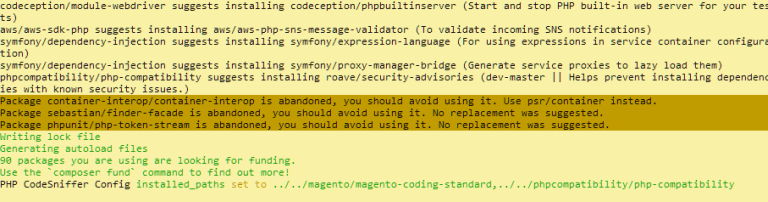
It should take a while for the composer to download and install all the necessary modules. When everything is finished, this is what you should see:
Part 4: Install Magento using command line
Starting from Magento 2.4, command line interface is the default (and only) installation method for Magento.
During Magento 2.4 installation, you may encounter some errors. To prevent such errors, you first need to make some tweaks to Magento files.
To prevent this error:

Find validateURLScheme function in \vendor\magento\framework\Image\Adapter\Gd2.php and replace it with:
private function validateURLScheme(string $filename) : bool
   {
       $allowed_schemes = ['ftp', 'ftps', 'http', 'https'];
       $url = parse_url($filename);
       if ($url && isset($url['scheme']) && !in_array($url['scheme'], $allowed_schemes) && !file_exists($filename)) {
           return false;
       }
       return true;
 }
Next, cd to your Magento directory and run this command:
php bin/magento setup:install --base-url=http://localhost/magento24/ --db-host=localhost --db-name=yourdbname --db-user=yourdbuser --db-password=yourdbpassword --admin-firstname=admin --admin-lastname=admin [email protected] --admin-user=admin --admin-password=admin123 --language=en_US --currency=USD --timezone=America/Chicago --use-rewrites=1 --backend-frontname=admin --search-engine=elasticsearch7 --elasticsearch-host=localhost --elasticsearch-port=9200
Descriptions:
base-url: the path that your Magento directory is in, which follows the following format: http[s]://<host or ip>/<your Magento install dir>/
db-host: the hostname or IP address of your hostdb-name: change it to the name of the Magento database you just createddb-user: a database user with full permission. We’ll be using the default root user.db-password: the password of your database user. Leave it blank if you’re using ‘root’ database useradmin-firstname: your first nameadmin-lastname: your lastnameadmin-email: your email addressadmin-user: the username which you’ll be using to log into Admin Paneladmin-password: the password which you’ll be using to log into Admin Panellanguage: the language which you’ll be using in your Admin Panel and your storefront. Use language code likeen_US.admin-email: change it to your emailcurrency: set the default currency to use in your storefront.Enterphp bin/magento info:currency:listfor a list of supported currencies along with their codestimezone: change to the timezone that you’re in. Refer to the list of supported timezones for a better idea on what to fill.url-rewrites: set to 1 to enable Web Server Rewrites. This will help with your site ranking.backend-frontname: set your Admin URL. Omitting this parameter will result in a randomly generated URL for your Magento Admin path (e.g., admin_jkhgdfq)search-engine: set the version of Elasticsearch that you want to use for this Magento installation. The default is elasticsearch7elasticsearch-host: the hostname or IP address where Elasticsearch is running. The default is localhostelasticsearch-port: the port number that Elasticsearch is listening to. The default is 9200
For more configurable options, please refer to the official guide by Magento.
Upon successful installation, you will see this message:
Post installation file permissions check…
 For security, remove write permissions from these directories: 'C:/xampp/htdocs/magento24/app/etc'
 [Progress: 1270 / 1270]
 [SUCCESS]: Magento installation complete.
 [SUCCESS]: Admin Panel URI: /admin
Nothing to import.
After this, we’ll have to make some additional tweaks in order to make Magento work with Windows, like so:
In app\etc\di.xml, replace Symlink with Copy
<virtualType name="developerMaterialization" type="Magento\Framework\App\View\Asset\MaterializationStrategy\Factory">
    <arguments>
        <argument name="strategiesList" xsi:type="array">
            <item name="view_preprocessed" xsi:type="object">Magento\Framework\App\View\Asset\MaterializationStrategy\Symlink</item>
            <item name="default" xsi:type="object">Magento\Framework\App\View\Asset\MaterializationStrategy\Copy</item>
        </argument>
    </arguments>
</virtualType>
In vendor\magento\framework\View\Element\Template\File\Validator.php, replace line 138 with:
$realPath = str_replace('\\', '/',$this->fileDriver->getRealPath($path));Finally, run these commands:
php bin/magento indexer:reindex
php bin/magento setup:upgrade
php bin/magento setup:static-content:deploy -f
php bin/magento cache:flush
Additional tweaks for Magento 2.4.2 and above
Starting from Magento 2.4.2, it’s now mandatory to serve content from from the /pub/ folder in order to ensure better security. This is why additional tweaks are required in order to make your Magento 2.4.2 version work properly.
Step 1: Copy the index.php and .htaccess files from /pub/ to your root folder.
Step 2: Find the below line in the index.php (in the root folder):
require __DIR__ . '/../app/bootstrap.php';
and replace it with
require __DIR__ . '/app/bootstrap.php';
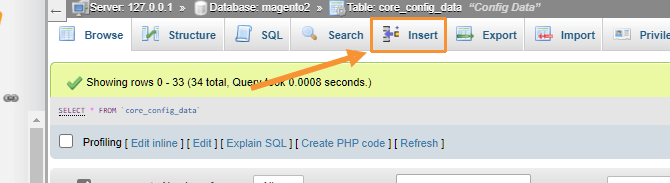
Step 3: Go to the Magento 2 database which you recently created (in http://localhost/phpmyadmin) and find the table core_config_data using this SQL query:
SELECT * FROM core_config_data
In this table, you’ll want to insert these rows in:
| Path | Value |
| web/secure/base_static_url | http://localhost/magento24/pub/static/ |
| web/unsecure/base_static_url | http://localhost/magento24/pub/static/ |
| web/secure/base_media_url | http://localhost/magento24/pub/media/ |
| web/unsecure/base_media_url | http://localhost/magento24/pub/media/ |
magento24 with your Magento install directory- Insert rows manually:
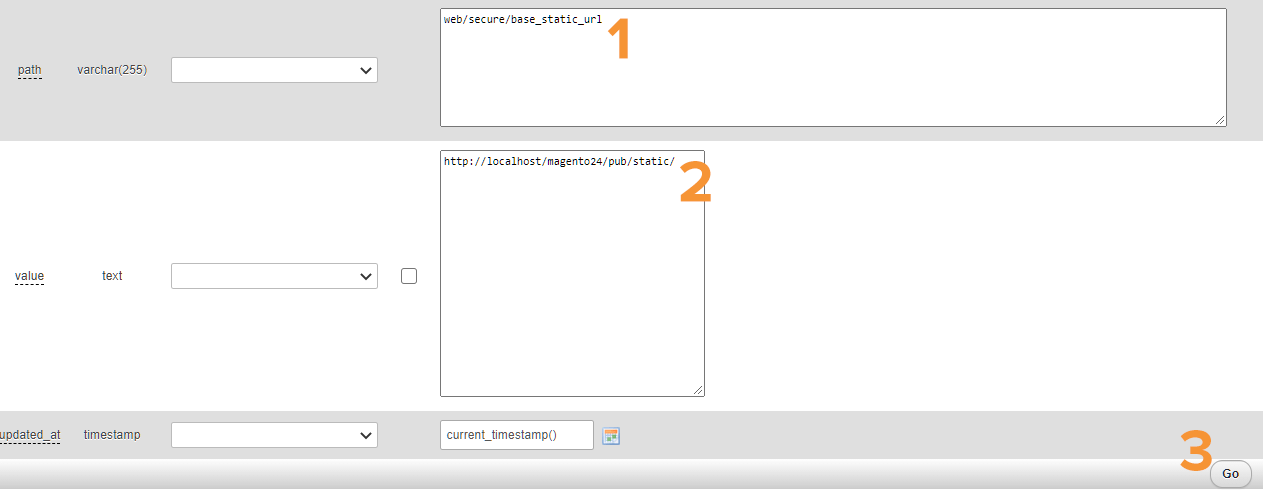
- Insert rows with SQL queries:
INSERT INTO `core_config_data` (`config_id`, `scope`, `scope_id`, `path`, `value`, `updated_at`) VALUES (NULL, 'default', '0', 'web/secure/base_static_url', 'http://localhost/magento24/pub/static/', current_timestamp());
INSERT INTO `core_config_data` (`config_id`, `scope`, `scope_id`, `path`, `value`, `updated_at`) VALUES (NULL, 'default', '0', 'web/unsecure/base_static_url', 'http://localhost/magento24/pub/static/', current_timestamp());
INSERT INTO `core_config_data` (`config_id`, `scope`, `scope_id`, `path`, `value`, `updated_at`) VALUES (NULL, 'default', '0', 'web/secure/base_media_url', 'http://localhost/magento24/pub/media/', current_timestamp());
INSERT INTO `core_config_data` (`config_id`, `scope`, `scope_id`, `path`, `value`, `updated_at`) VALUES (NULL, 'default', '0', 'web/unsecure/base_media_url', 'http://localhost/magento24/pub/media/', current_timestamp());
Your newly added rows should look something like this:

Now clear cache using:
php bin/magento cache:flush
And refresh your frontend. You should now be able to see a blank page like this when access your frontend via configured base-url:
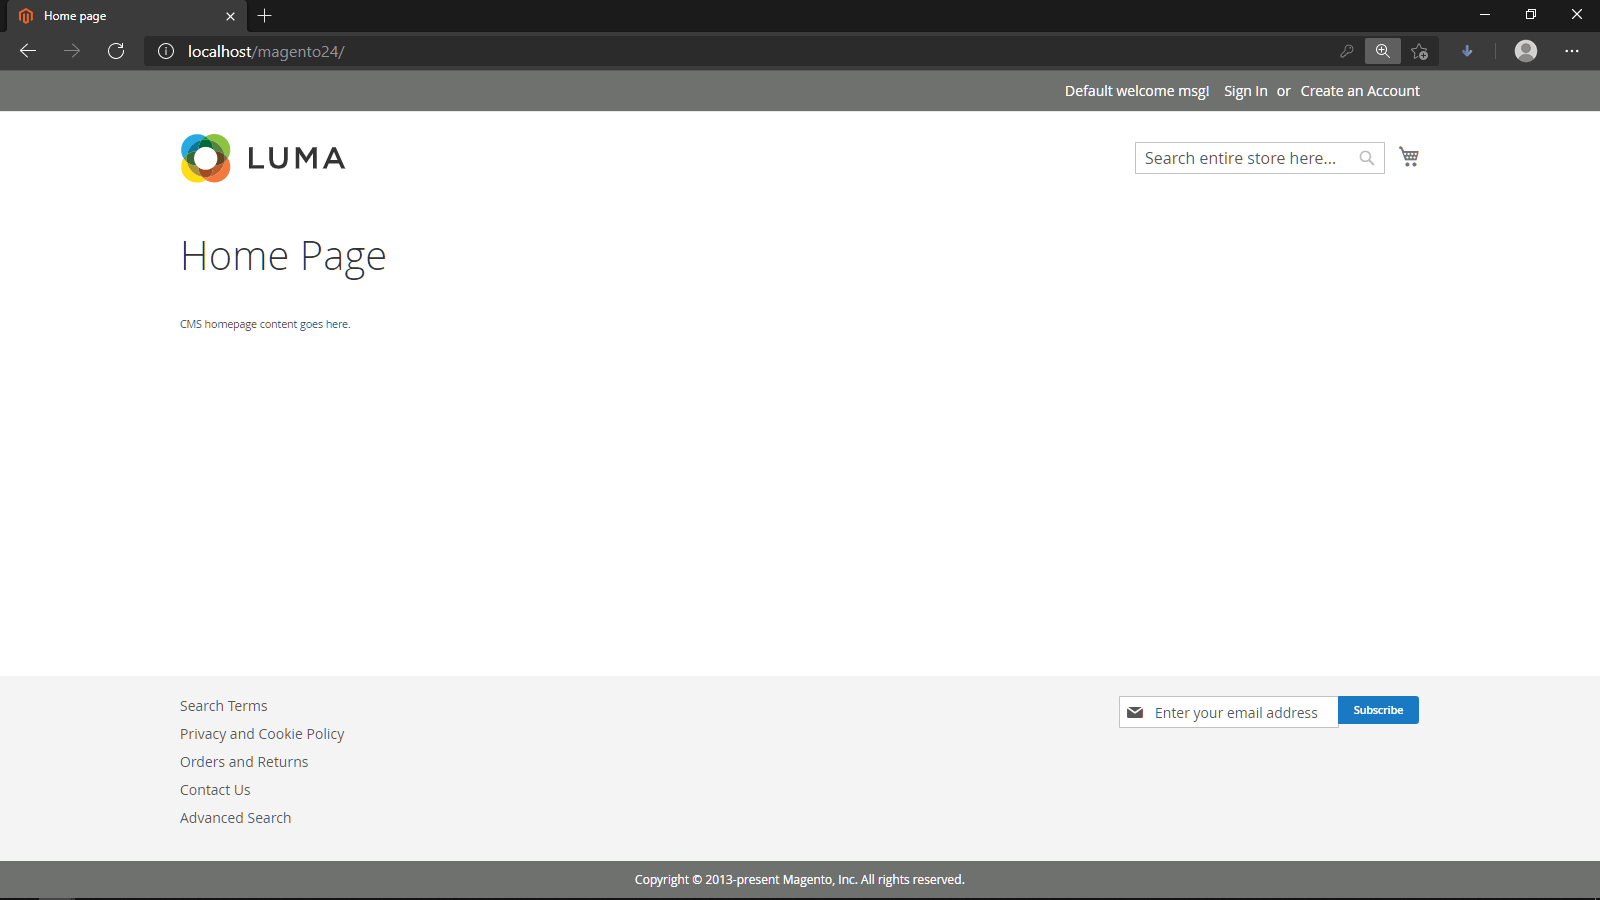
Now you can access your Magento frontend with your configured base-url. For example, with our Magento 2.4.2 installation, we access our new Magento site at http://localhost/magento24/, and our backend at http://localhost/magento24/admin.
*Note: if you face this error when trying to log into your Magento Admin account: “You need to configure Two Factor Authorization…”
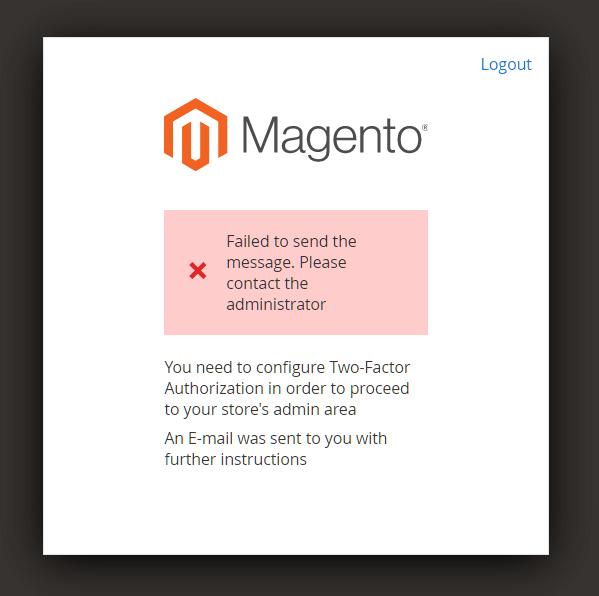
Try running this command:
php bin/magento module:disable Magento_TwoFactorAuth
Part 5: Import sample data (optional)
Run this command to import sample data:
php bin/magento sampledata:deploy
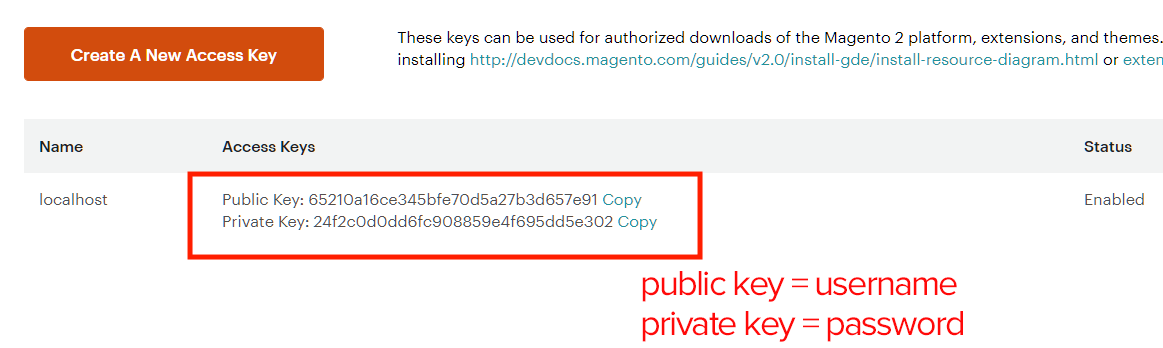
When prompted, enter your Magento authentication keys. Public and private keys are created and configured in your Magento Marketplace account.
After importing data is complete, run:
php bin/magento setup:upgrade
php bin/magento setup:static-content:deploy -f
php bin/magento cache:clean
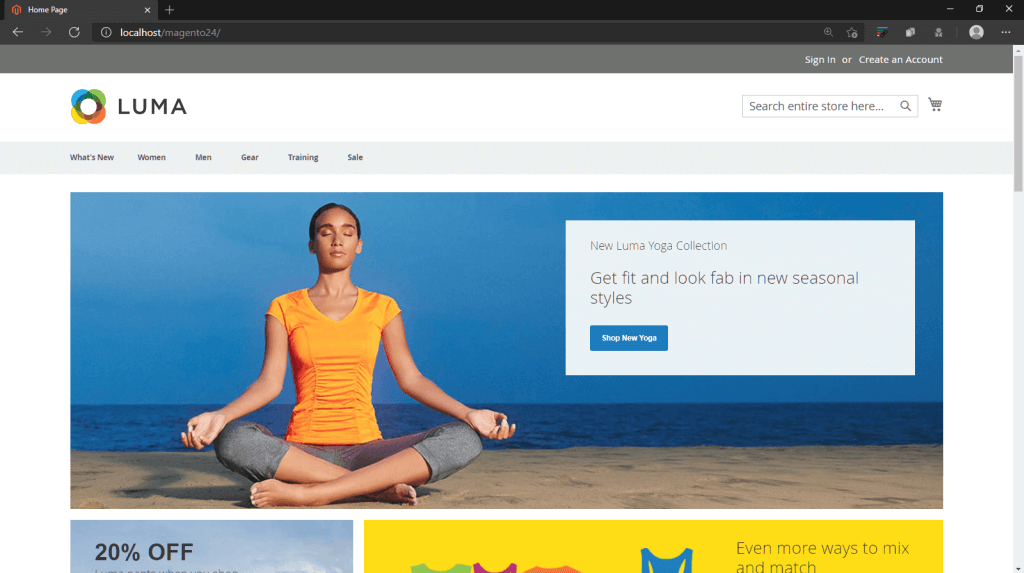
Now, refresh the frontend and you should be able to see the default Magento store with Luma theme and sample data.
That’s it! You have finished installing Magento 2 on your localhost. Now you can access your Magento 2 frontend/backend and start exploring Magento 2 features. We hope you find this post helpful!