Table of contents
Since open rates is higher for transactional email than promotional email, creating a transactional email which fits your brand is an important thing.
In this tutorial, I’m gonna show you how to customize your Transactional Magento Email Templates by using your Magento Admin within only 4 steps.
Step 1: Upload your own logo
- Navigate to System > Configuration and open “Design” section on the left menu
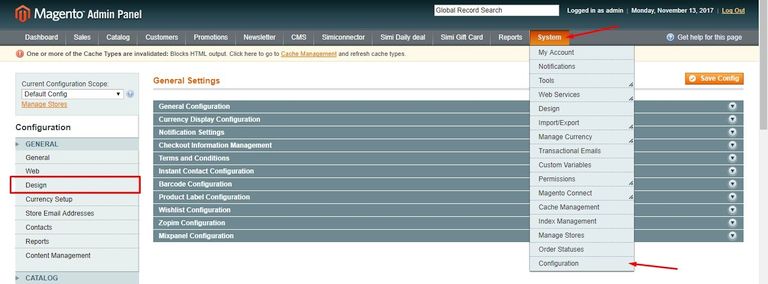
- Upload your logo under Transactional Emails section
A small tip for the responsive email is that the dimension of image upload is three times as large as the required size in the header.
If you are using Magento 2, do NOT ignore our guide to Magento 2 Logo.
Step 2: Customize your email header/footer
Thanks to Magento, you can create your own email header and footer in a few minutes.
- Go to System > Transactional Emails
- Click Add new template
- Choose Email – Header/Email – Footer on Template drop down menu

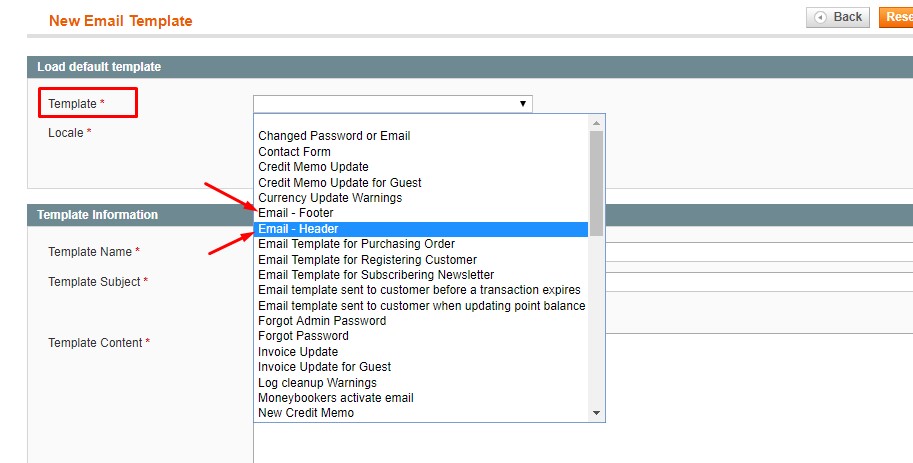
- Click Load Template
- Fill out the Template information

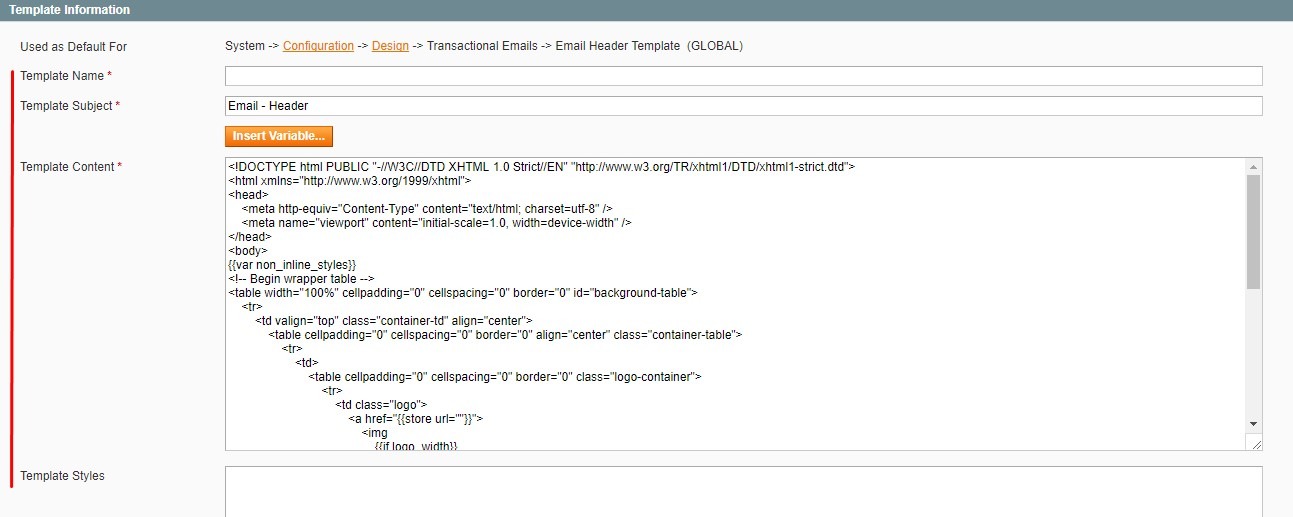
- Used as Default For: where your custom template will be located
- Template Name: the name of your custom template
- Template Content: the content of your header/footer
- Save your custom header/footer
Step 3: Customize your email content
The way to customize your email content is the same as creating your email header/footer
- In your Magento Admin, navigate to System > Transactional Emails
- Click Add new template
- Choose a default template from the drop down menu
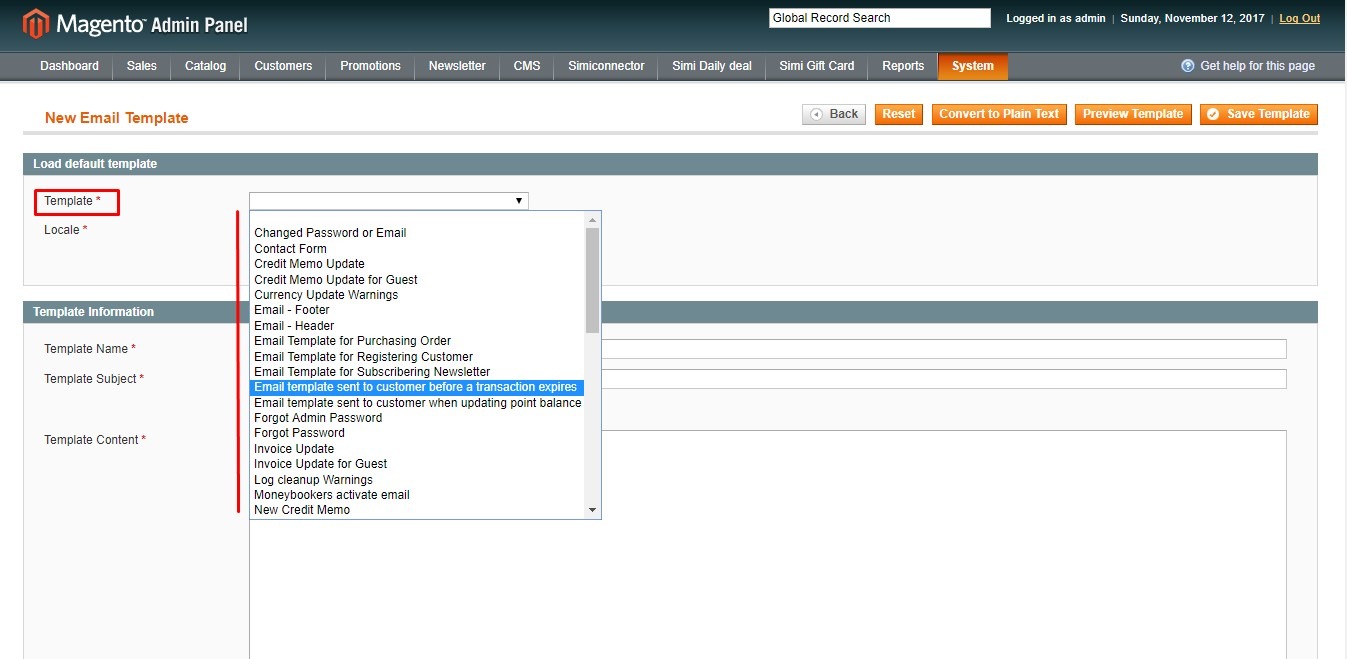
- Set Locale to your store language

- Click Load Template
- Fill out the template information


- Used as Default For: where your custom template will be located
- Template Name: the name of your custom template
- Template Subject: your email subject
- Template Content : the body of your message.
- Template Styles: the CSS code block for your email template
- Click Preview Template button to check how your email looks. Edit the template until you are happy with it. Then click Save Template.


Preview template
Step 4: Apply your configuration
Clicking Save Template just allow you to add your custom template to the available template list. You have to apply your recent configuration if you would like to use it as default.
Firstly, to apply your custom email header/email footer, follow these steps:
- Go to System > Configuration > Design
- Choose your custom header/custom footer on drop down menu at Email header/email footer field.
Secondly, to apply your custom email content, just follow the path in the Template Information box in the previous step. For example, we have added the custom template for transactional expired at third step. To apply it we will follow these steps:
- Go to System > Configuration
- Choose the Reward Point section (for example purpose only) on left menu
- At the email configuration box, choose the custom email on drop down list at Template of email sent to Customer before a transaction expires field
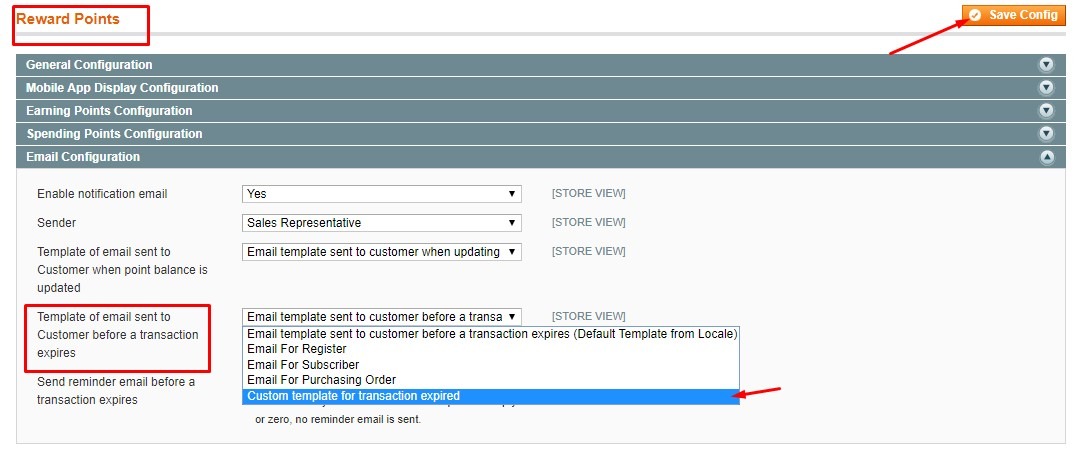
- Click Save Config
Notice that the place to apply your custom template depends on the type of template that you choose to change. It could be applied in the Sales Email on left menu if you custom “Invoice update” template or in the Customer configuration if you change the “Email for Register” template, etc.
The easiest way to know where to apply your configuration is copying the path at Used as Default For section before saving your custom template.

By following the four steps above, you can create your own responsive transactional email based on the default one of Magento.
Hope this helps!
Further Reading:
How to Change Welcome Message in Magento 2
How to Stop Brute Force Attack on Magento 2


