Progressive Web App Tutorial: Create Your First PWA
Made by Google themselves and currently being pushed onto popular platforms such as Windows 10, PWA can do many of the things that were previously exclusive to native applications, including features like push notifications, engaging app interface, offline capabilities, app installations…you name it.
And this is why the PWA emergence is no longer set to be momentary, as it is now a full-on large scale movement that might fundamentally change the Web as we know it. For newcomers, it isn’t too late to get to know this emerging technology as the process of building a PWA is now made much more simplified than before, suitable for interested laymen such as yourself.
For your best learning purposes, today we’re going to create a fully functional PWA using React, Node.js, and Firebase.
Prerequisites
Node.jsversion >= 8.10npmversion >= 5.6
Notes: npm version shouldn’t really be an issue as your installation of Node.js always comes with the latest version of the npm package manager.
1. Create a SPA with create-react-app
First, we need something solid to work on, and create-react-app is the perfect tool for this purpose.
npx create-react-app my-PWA
cd my-pwa
npm start
The above commands will help create a learning, React-based environment for you to work with.
my-pwa directoryServe it over HTTPS
HTTPS is the new standard for the web and with the arrival of PWA, it’s only ever become more mainstream. Normally, a PWA must be served over HTTPS as service workers themselves can not work without it; but since we’re working in a localhost environment, it’s not necessary.
2. Make it work offline
By default, service workers from create-react-app should be pre-configured to handle offline-caching and loading of content when the user has no connection or on subsequent visits.
A service worker is, simply put, a JavaScript script that runs on a separate thread from the page, and because of this, it doesn’t have any access to the DOM structure. This fresh approach gives rise to more progressive, performance-enhancing features as the service workers now not only handle all the typical features of a PWA (offline capabilities, push notifications, etc), but they also play a large part in relieving the heavy calculations of your website on a separate thread.
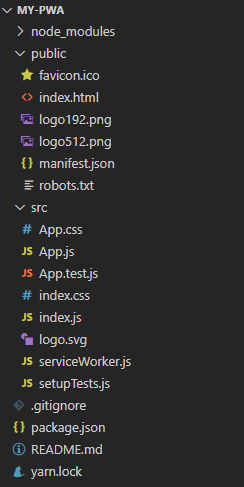
To install service workers on your PWA, you’ll want to take a look at /src/index.js.
In index.js, look for this line
serviceWorker.unregister()
Change unregister() to register() and your service workers will be automatically registered when you run your my-pwa in production mode. It’s not recommended to enable service workers in development mode as it can lead to cases where the PWA only loads cached assets and not including the latest local changes.
To run your my-pwa in production mode:
npm run build
npx serve build
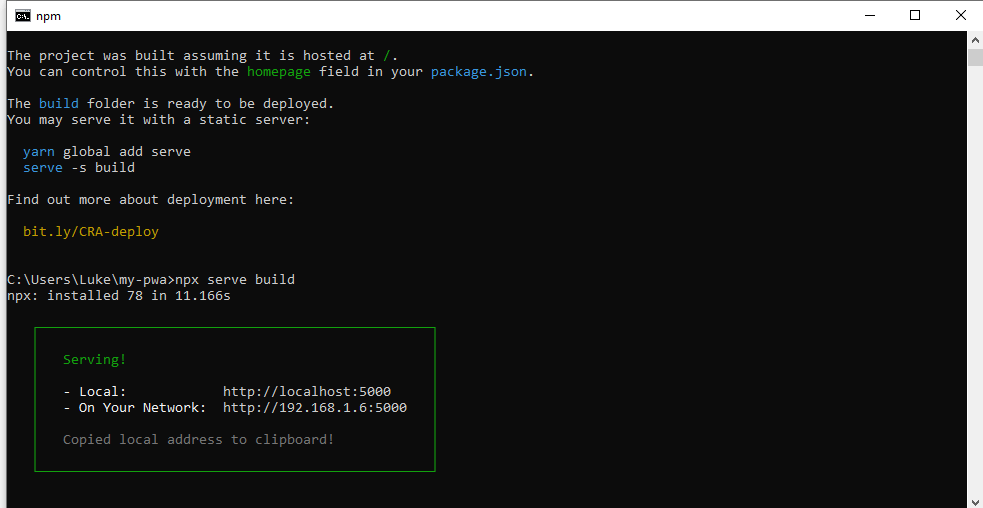
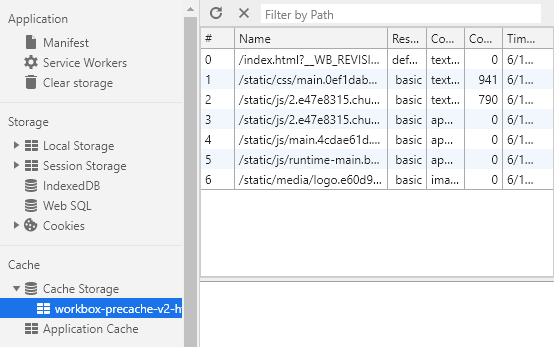
After this, open Chrome and go to localhost:5000, inspect it and you’ll now see service workers properly running in the Application tab.
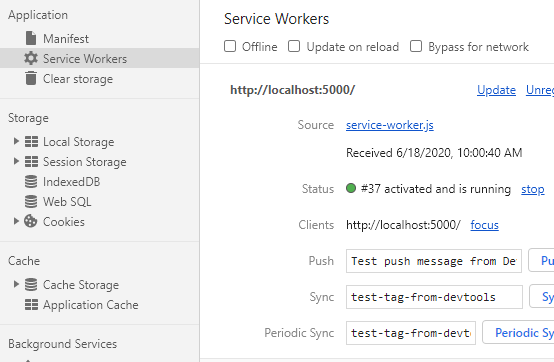
And under in the Cache Storage category is where you’d want to check if your site’s offline content is being cached properly.
Notes: There is a workaround to register your service workers in non-production mode. This is achieved by removing the line process.env.NODE_ENV === 'production' from src/serviceWorker.js.
If you want to dig more into this and create your own service workers from scratch and not relying on React’s pre-configured configurations, we’ve got you. In this tutorial, we show you how to create an offline-first Progressive Web App from a simple web app.
3. Set up add to home screen
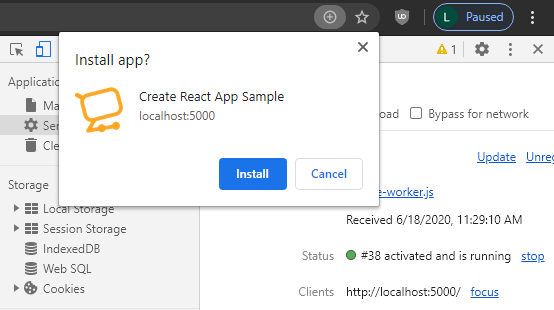
If everything’s been properly done thus far, you should see a little install icon (+) when launching the production build of your my-pwa.
Since everything is being done automatically for you, you’re probably wondering how all this was made possible. Don’t worry, that’s why we’re here.
To make your PWA A2HS (Add to Home Screen)-ready, we need a manifest.json. The manifest.json that ships with your create-react-app is a very basic JSON file that determines how your app’s icons appear to the user and define its splash screen appearance. To customize these, change the existing file at /public/manifest.json.
{
  "short_name": "My First PWA",
  "name": "Create a simple PWA",
  "icons": [
    {
      "src": "favicon.ico",
      "sizes": "64x64 32x32 24x24 16x16",
      "type": "image/x-icon"
    },
    {
      "src": "logo192.png",
      "type": "image/png",
      "sizes": "192x192"
    },
    {
      "src": "logo512.png",
      "type": "image/png",
      "sizes": "512x512"
    }
  ],
  "start_url": ".",
  "display": "standalone",
  "theme_color": "#000000",
  "background_color": "#ffffff"
}
Most of the stuff here are pretty much self-explanatory, but if you find yourself wanting to dig more into the manifest.json and the events that lead to a PWA install, we have written a piece about this. Don’t forget to check it out.
Notes: For the manifest.json to work, you’ll need to include it in index.html. By default, create-react-app should have already done this for you.
<link rel="manifest" href="%PUBLIC_URL%/manifest.json" />
When you have your PWA registered with service workers and a proper manifest.json, a beforeinstallpromt will be fired once the user launches your app, asking for their permission to install your PWA to the user’s home screen.
You should however be noted that we’re only scratching the surface of the A2HS (Add to Home Screen) process, and there’s still plenty more to learn. The best way, we think, that you can learn anything is by building it from the ground up, which is why we have prepared for you a short guide about this specific feature of PWA. The guide will walk you through several important parts in a PWA’s installing events. Alternatively, if you’re feeling lazy and unmotivated, we’re also here to enable you.
4. Set up push notifications
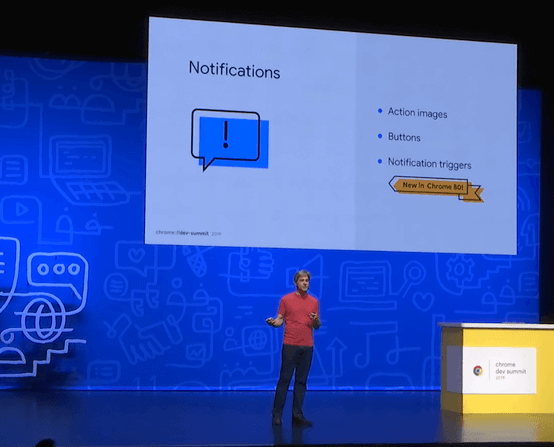
Browsers have come a long way in their support of push notifications. As of recently, Chrome even introduced Notification Triggers to enable showing of notifications in airplane mode. That’s a huge step forward for push notifications.
And by now, you must be wondering where’s that part that uses Firebase in this tutorial. Well, this is it. In this part, you’ll learn about the process of integrating Push Notifications into a PWA using Firebase, specifically the Cloud Messaging feature within it which enables sending of messages using HTTPS requests.
But since the whole process is a little bit long, and also to help you better keep track of the whole thing, we’ve prepared for you our own push notification integration tutorial. With this tutorial, you shouldn’t find yourself running any trouble when trying to send push notifications to either a user token or to a group of users.
Conclusion
And that’s it for a complete PWA. Feel free to shoot us any questions if you feel stuck in any part of the tutorial and we’ll try our best to answer it!