
Downloadable Product in Magento
A Downloadable Product is a type of product that you can deliver as a file: software, music, video, ebook, picture… You can provide samples such as a clip, a trailer that customers can try beforehand because this type of product is available to download only after the purchase.
In this tutorial, we will show you how to add a downloadable product to your Magento store.
Step 1: Select product type
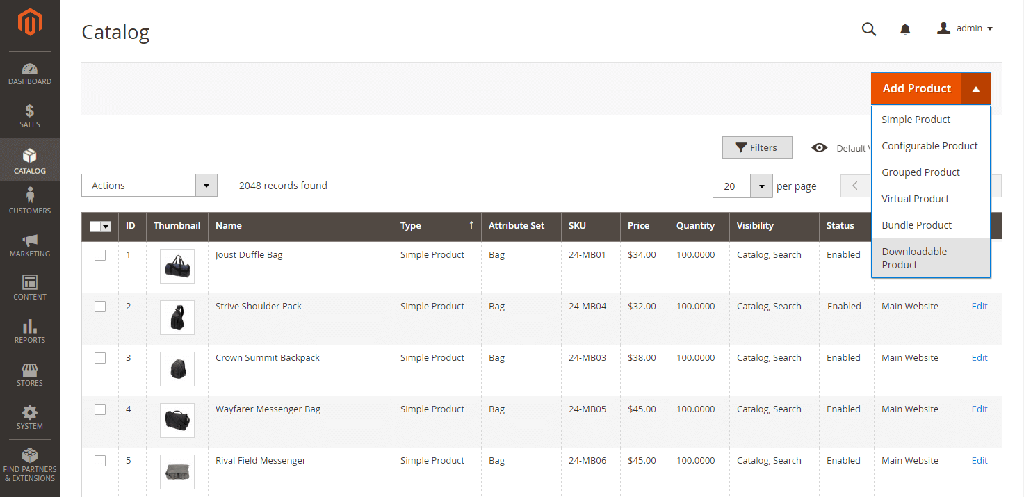
1. On the Admin sidebar, go to Catalog > Products.
2. Expand the Add Product menu and choose Downloadable Product.
Step 2: Choose the attribute set
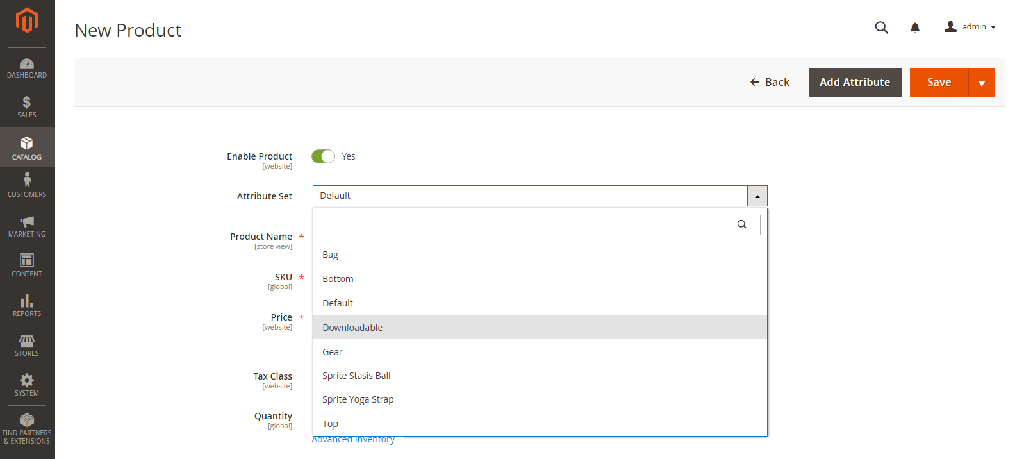
The sample data includes an attribute set called Downloadable that has special fields for downloadable products.
You can use the existing template or create a new one. To choose the attribute set that is used as a template for the product, do one of the following:
- For Search, enter the name of the attribute set.
- In the list, choose the Downloadable attribute set.
The form is updated to reflect the change.
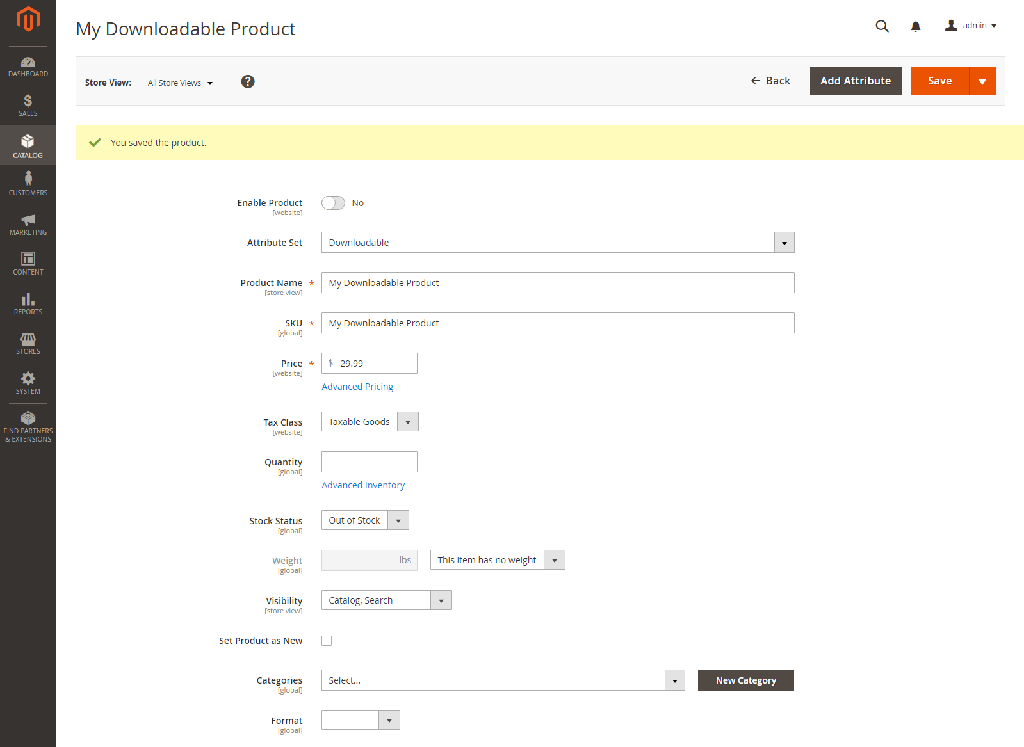
Step 3: Fill out the required fields
1. Enter the Product Name.
2. Use the default SKU or set another value.
3. Enter Price for the product.
4. Click Advanced Pricing to set discounted price, cost or tier price for the product.
5. Set Enable Product to No as it’s not ready to be published yet.
6. Click Save.
The Store View will appear after the product is saved. Choose the Store View where the product is to be available.
Step 4: Complete basic settings
1. Set Tax Class to None or Taxable Goods.
2. Enter the Quantity.
3. Set Stock Status.
4. Skip the Weight field, and mark the Virtual / Downloadable checkbox, if necessary.
5. To feature the product in the list of new products, select the Set Product as New checkbox.
6. To assign the product to a Category, click the Select .. box then follow either option:
- Choose an existing category
- Create a new category: Enter the Category Name and choose the Parent Category. Click Create Category.
7. Set Format to Download or DVD
Scroll down and complete other sections as needed.
8. Expand Content menu, and write descriptions using WYSIWYG editor to provide more information to customers.
9. Add Images and Videos for the product, these files can be uploaded from your desktop. Click on an image to fill up details like Alt Text and Role:
- Base – Main image for the product page
- Small – For listings on category and search results pages, and for sections such as for Up-sells, Cross-sells, and the New Products List.
- Thumbnail – For thumbnail gallery, shopping cart, blocks like related items.
- Swatch – Used to illustrate the color, pattern, or texture.
10. SEO
Complete fields for URL Key, Meta Title, Meta Keywords and Meta Descriptions for for displaying in search results.
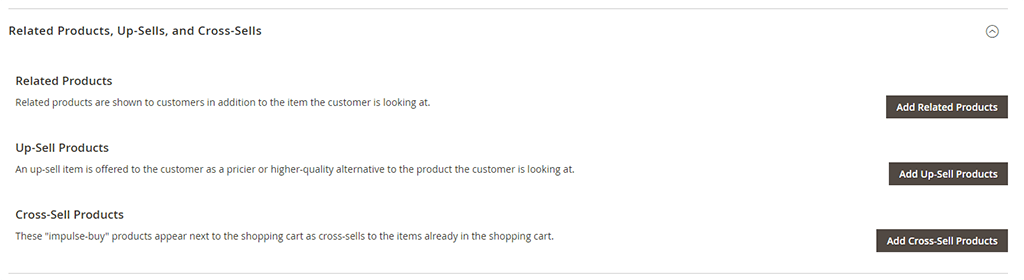
11. Related products, up-sells and cross-sells
Add suitable products to promote them on the product page.
12. Customizable Options
Configure this option to offer customers a selection of options with a variety of text, selection, and date input types.
13. Products in websites
Select the websites where the product will be available.
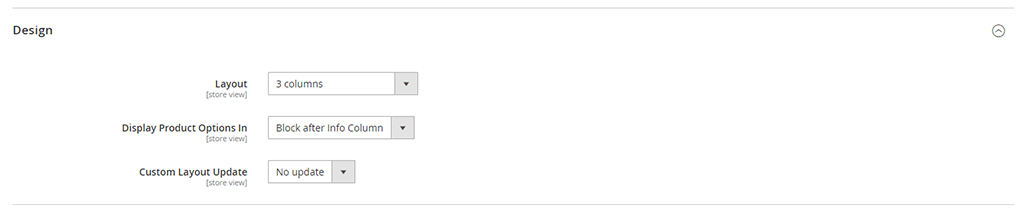
14. Design
You can change the layout and determine where product options appear in this section.
15. Gift options
This can be set to allow a gift message to be included during checkout.
Step 5: Complete the Downloadable Information
There are two parts in the Downloadable Information section.
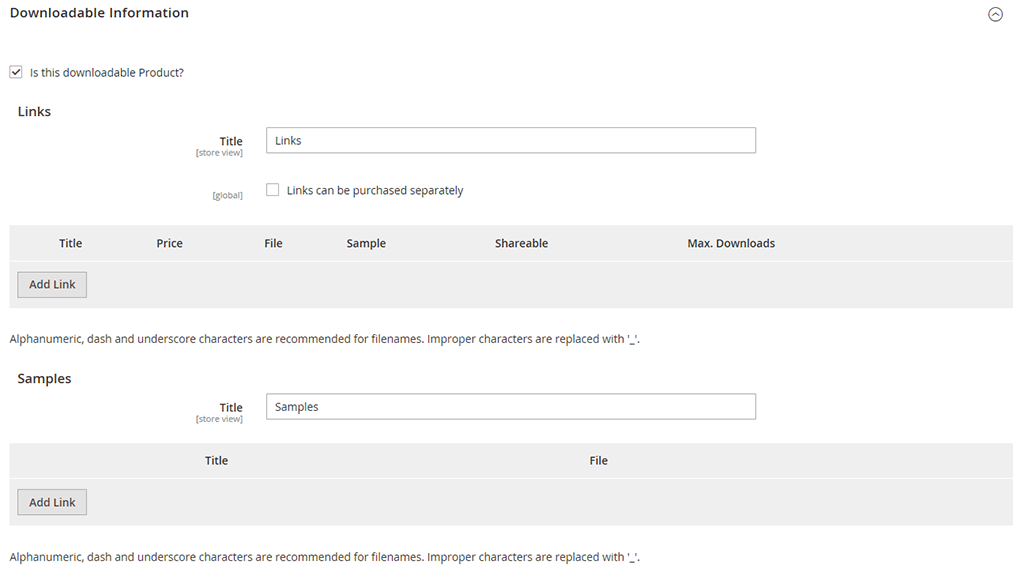
Complete the links
1. In the Link section, enter the Title that you use for the download links.
Set Links can be purchased separately to offer single or multiple download link.
2. Click Add Link and then:
- Enter Title and Price.
- Choose distribution method: URL or Upload File.
- Set Sharable to Yes/ No/ Use Config.
- For Max Downloads, enter a number. Or else, tick the Unlimited Download checkbox.
Add more links if needed.

Complete samples
1. In the Sample section, enter the Title you want to use.
2. Click Add New Link and complete the details.
To add more samples, click on Add New Link again and repeat these steps.
You can change the order of the samples by dragging to new position with the sort icon.

Step 6: Publish the product
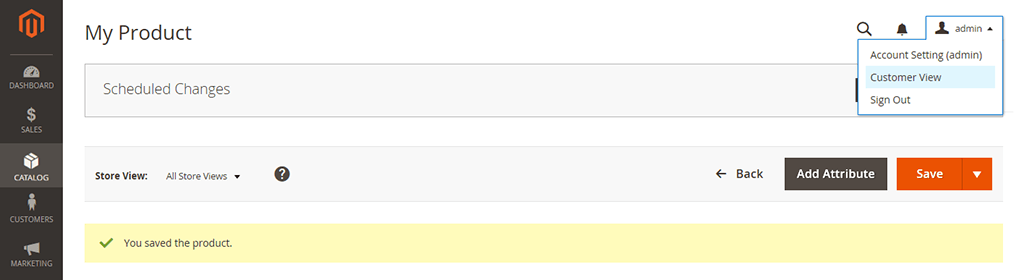
1. When it’s all set, set Enable Product to Yes.
2. You can choose Save & Close
or Save and go to Admin menu > Customer View to view the product in your store.
If you want to improve your grouped products and make them unique from the crowd, Magento 2 Grouped Product with Custom Options is an ideal solution. You can now include simple goods with custom options or customizable products to a group in addition to simple independent products within a grouped product as before.
As a result, store owners can organize products in more varied ways and give customers more options to choose the right product features. This extension also updates dynamic prices based on chosen custom options on a grouped product page. It implies that the costs of the choices will be determined using the cost of the simple product.
>>> Get Magento 2 Grouped Product with Custom Options now!


